


Protected Routes and Authentication with React and Node.js
This article explores Protected Routes and Authentication with React and Node.js


Author: Chibuike Nwachukwu
This article explores Protected Routes and Authentication with React and Node.js
I worked on a project to create a tiny boilerplate with Create React App to implement the authentication flow with Strapi, a Node.js framework with an extensible admin panel and built-in features (authentication, upload, permissions, etc.)

In this tutorial, we'll implement the basic authentication flow using JSON Web Tokens that a Strapi API provides and learn how to use authentication providers (Facebook, GitHub, Google, etc.) with Strapi to authenticate your users.
Note: [Click here to view the source code of this article.] (github.com/strapi/strapi-examples/tree/mast..)
Creating the Project
Create a Strapi API:
$ npx create-strapi-app my-app --quickstartCreate your frontend application:
$ npx create-react-app good-old-react-authentication-flowRegister your first user, and then you're ready to go!
Frontend App Architecture
Below is the way I organize my code:
    /src
    └─── containers // React components associated with a Route
    |    └─── App // The entry point of the application
    |    └─── AuthPage // Component handling all the auth views
    |    └─── ConnectPage // Handles the auth with a custom provider
    |    └─── HomePage // Can be accessed only if the user is logged in
    |    └─── NotFoundPage // 404 Component
    |    └─── PrivateRoute // HoC
    |
    └─── components // Dummy components
    |
    └─── utils
         └─── auth
         └─── request // Request helper using fetch
Router Setup and Private Route
To implement the authentication views, we first need to create a Higher Order Component [HoC] that will check if a user can access a specific URL. To do so, we just need to follow the official documentation and modify the fakeAuth example and use our auth.js helper:
npm i react-router-dom
Next, use the following code:
     import React from 'react';
     import { Navigate, Outlet } from 'react-router-dom';

     import auth from '../../utils/auth';

     const PrivateRoute = () => {
        return auth.getToken() ? <Outlet /> : <Navigate to="/auth/login" />;
    }

     export default PrivateRoute;
To create the routing, update App.js:
    import React from 'react';
    import { BrowserRouter as Router, Route, Routes } from 'react-router-dom';
    // Components
    import AuthPage from '../AuthPage';
    import ConnectPage from '../ConnectPage';
    import HomePage from '../HomePage';
    import NotFoundPage from '../NotFoundPage';
    import PrivateRoute from '../PrivateRoute';
    // Design
    import './styles.css';
    const App = () => {
        return (
          <Router>
            <div className="App">
              <Routes>
                {/* A user can't go to the HomePage if is not authenticated */}
                <Route path="/auth/:authType/:id" element={<AuthPage/>} />
                <Route path="/auth/:authType" element={<AuthPage/>} />
                <Route exact path='/' element={<PrivateRoute/>}>
                <Route exact path='/' element={<HomePage/>}/>
                </Route>
                <Route exact path="/connect/:provider" element={<ConnectPage/>} />
                <Route path="*" element={<NotFoundPage/>} />
              </Routes>
            </div>
          </Router>
        );
    }
    export default App;
Creating the Authentication Views
Now that all our routes are implemented, we need the create our views. The way we declared our routes allows us to have one component that is responsible for creating the correct form according to the location.
First of all, let's create a forms.json file that will handle the creation of the form on each auth view:
- forgot-password
- login
- register
- reset-password
The structure of the JSON will be like the following (you can see a customBootstrapClass key that is needed in the Input component):
    {
      "views": {
        "login": [
          {
            "customBootstrapClass": "col-md-12",
            "label": "Username",
            "name": "identifier",
            "type": "text",
            "placeholder": "johndoe@gmail.com"
          },
          {
            "customBootstrapClass": "col-md-12",
            "label": "Password",
            "name": "password",
            "type": "password"
          },
          {
            "customBootstrapClass": "col-md-6",
            "label": "Remember me",
            "name": "rememberMe",
            "type": "checkbox"
          }
        ]
      },
      "data": {
        "login": {
          "identifier": "",
          "password": "",
          "rememberMe": false
        }
      }
    }
Setting the State on Location Change
To set the form when the user navigates from auth/login to auth/register, we need to use the useEffect Hook:
    useEffect(() => {
         setState({ value: generateForm(search, id, authType), errors: [], didCheckErrors: false });
    }, [])
The generateForm method is in charge of getting the data from the forms.json file above.
Creating the View
To create the form, we just need to map over the data retrieve in the forms.json file.
    const handleChange = ({ target }) =>
         setState({
           value: { ...state.value, [target.name]: target.value },
         });

    function AuthPage() {
      const inputs = get(form, ['views',  authType], []);
      return (
        <div>
          <form onSubmit={handleSubmit}>
            {inputs.map((input, key) => (
              <Input
                autoFocus={key === 0}
                key={input.name}
                name={input.name}
                onChange={handleChange}
                type={input.type}
                value={get(state.value, [input.name], '')}
              />
            ))}
            <Button type="submit" />
          </form>
        </div>
      );
    }
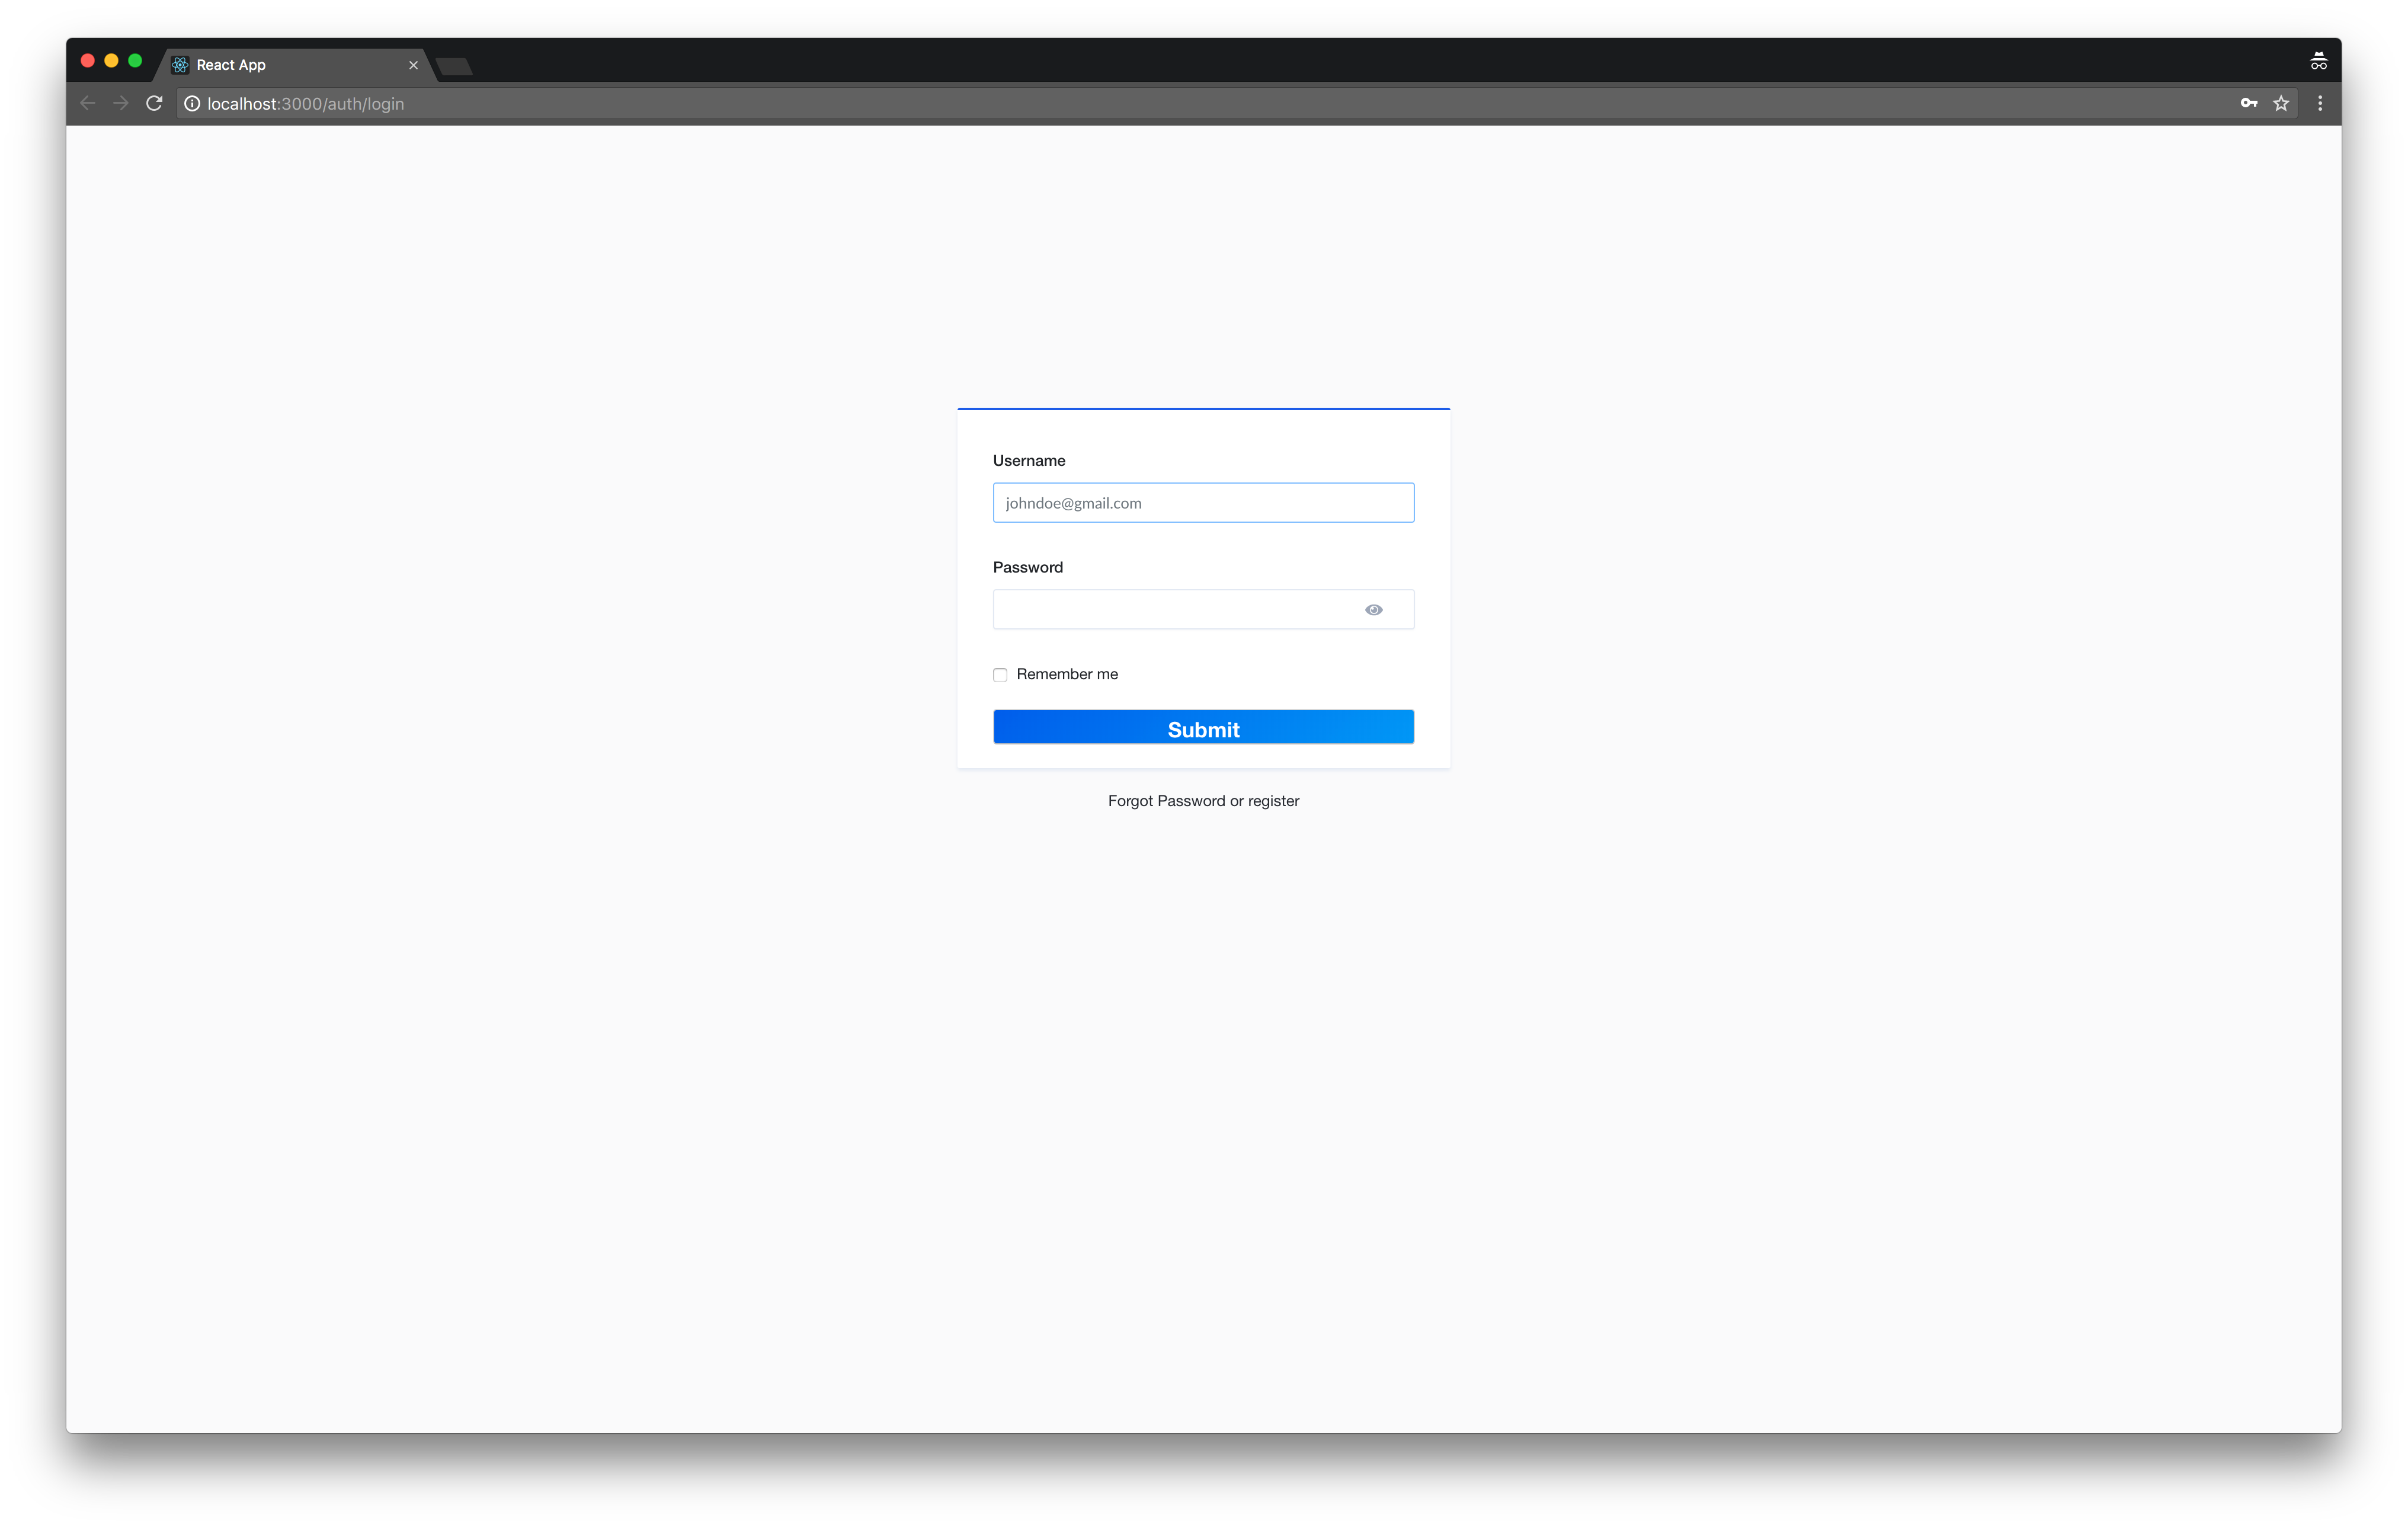
Well, at this point, all the views needed for authenticating your users should be created! We just need to make the API call to access the app.
Posting Data to the API
To make the API call, I have a request helper which you can get from the demo app so we just need to use it in our handleSubmit function:
    const handleSubmit = e => {
         e.preventDefault();
         const body = state.value;
         const requestURL = getRequestURL(authType);

         // This line is required for the callback url to redirect your user to app
         if (authType === 'forgot-password') {
           set(body, 'url', 'http://localhost:3000/auth/reset-password');
         }

         request(requestURL, { method: 'POST', body: state.value })
           .then(response => {
             auth.setToken(response.jwt, body.rememberMe);
             auth.setUserInfo(response.user, body.rememberMe);
             alert("Redirecting user")
             redirectUser();
           })
           .catch(err => {
             // TODO handle errors for other views
             // This is just an example
             const errors = [
               { name: 'identifier', errors: [err.response.payload.error.message] },
             ];
             setState({ ...state.value, didCheckErrors: !state.didCheckErrors, errors });
           });
       };
       const redirectUser = () => {
        navigate(`/`);
       };
Once we get the response from the API, we just store the needed information in either the localStorage or the sessionStorage and we redirect the user to the HomePage.
We just achieved the most difficult part because using a custom provider like Facebook is easy as pie!
Using an Authentication Provider
Whatever you choose [Facebook, GitHub or even Google], using a provider for authenticating your users with Strapi is easy. In this example, I will show you how to use it with Facebook.
Here is the flow:
- The user clicks on login with Facebook.
- It redirects him to another page so he can authorize the app.
- Once authorized, Facebook redirects the user to your app with a code in the URL.
- It sends this code to Strapi.
At this point, we need to implement only one hook useEffect, which makes the API call and redirects the user depending on the response in the ConnectPage container:
    const redirectUser = path => {
        <Navigate to={path} />;
       };

    useEffect(() => {
         const requestURL = `http://localhost:1337/api/auth/${provider}/callback${search}`;

         request(requestURL, { method: 'GET' })
           .then(response => {
             auth.setToken(response.jwt, true);
             auth.setUserInfo(response.user, true);
             redirectUser('/');
           })
           .catch(err => {
             console.log(err.response.payload);
             redirectUser('/auth/login');
           });
       })
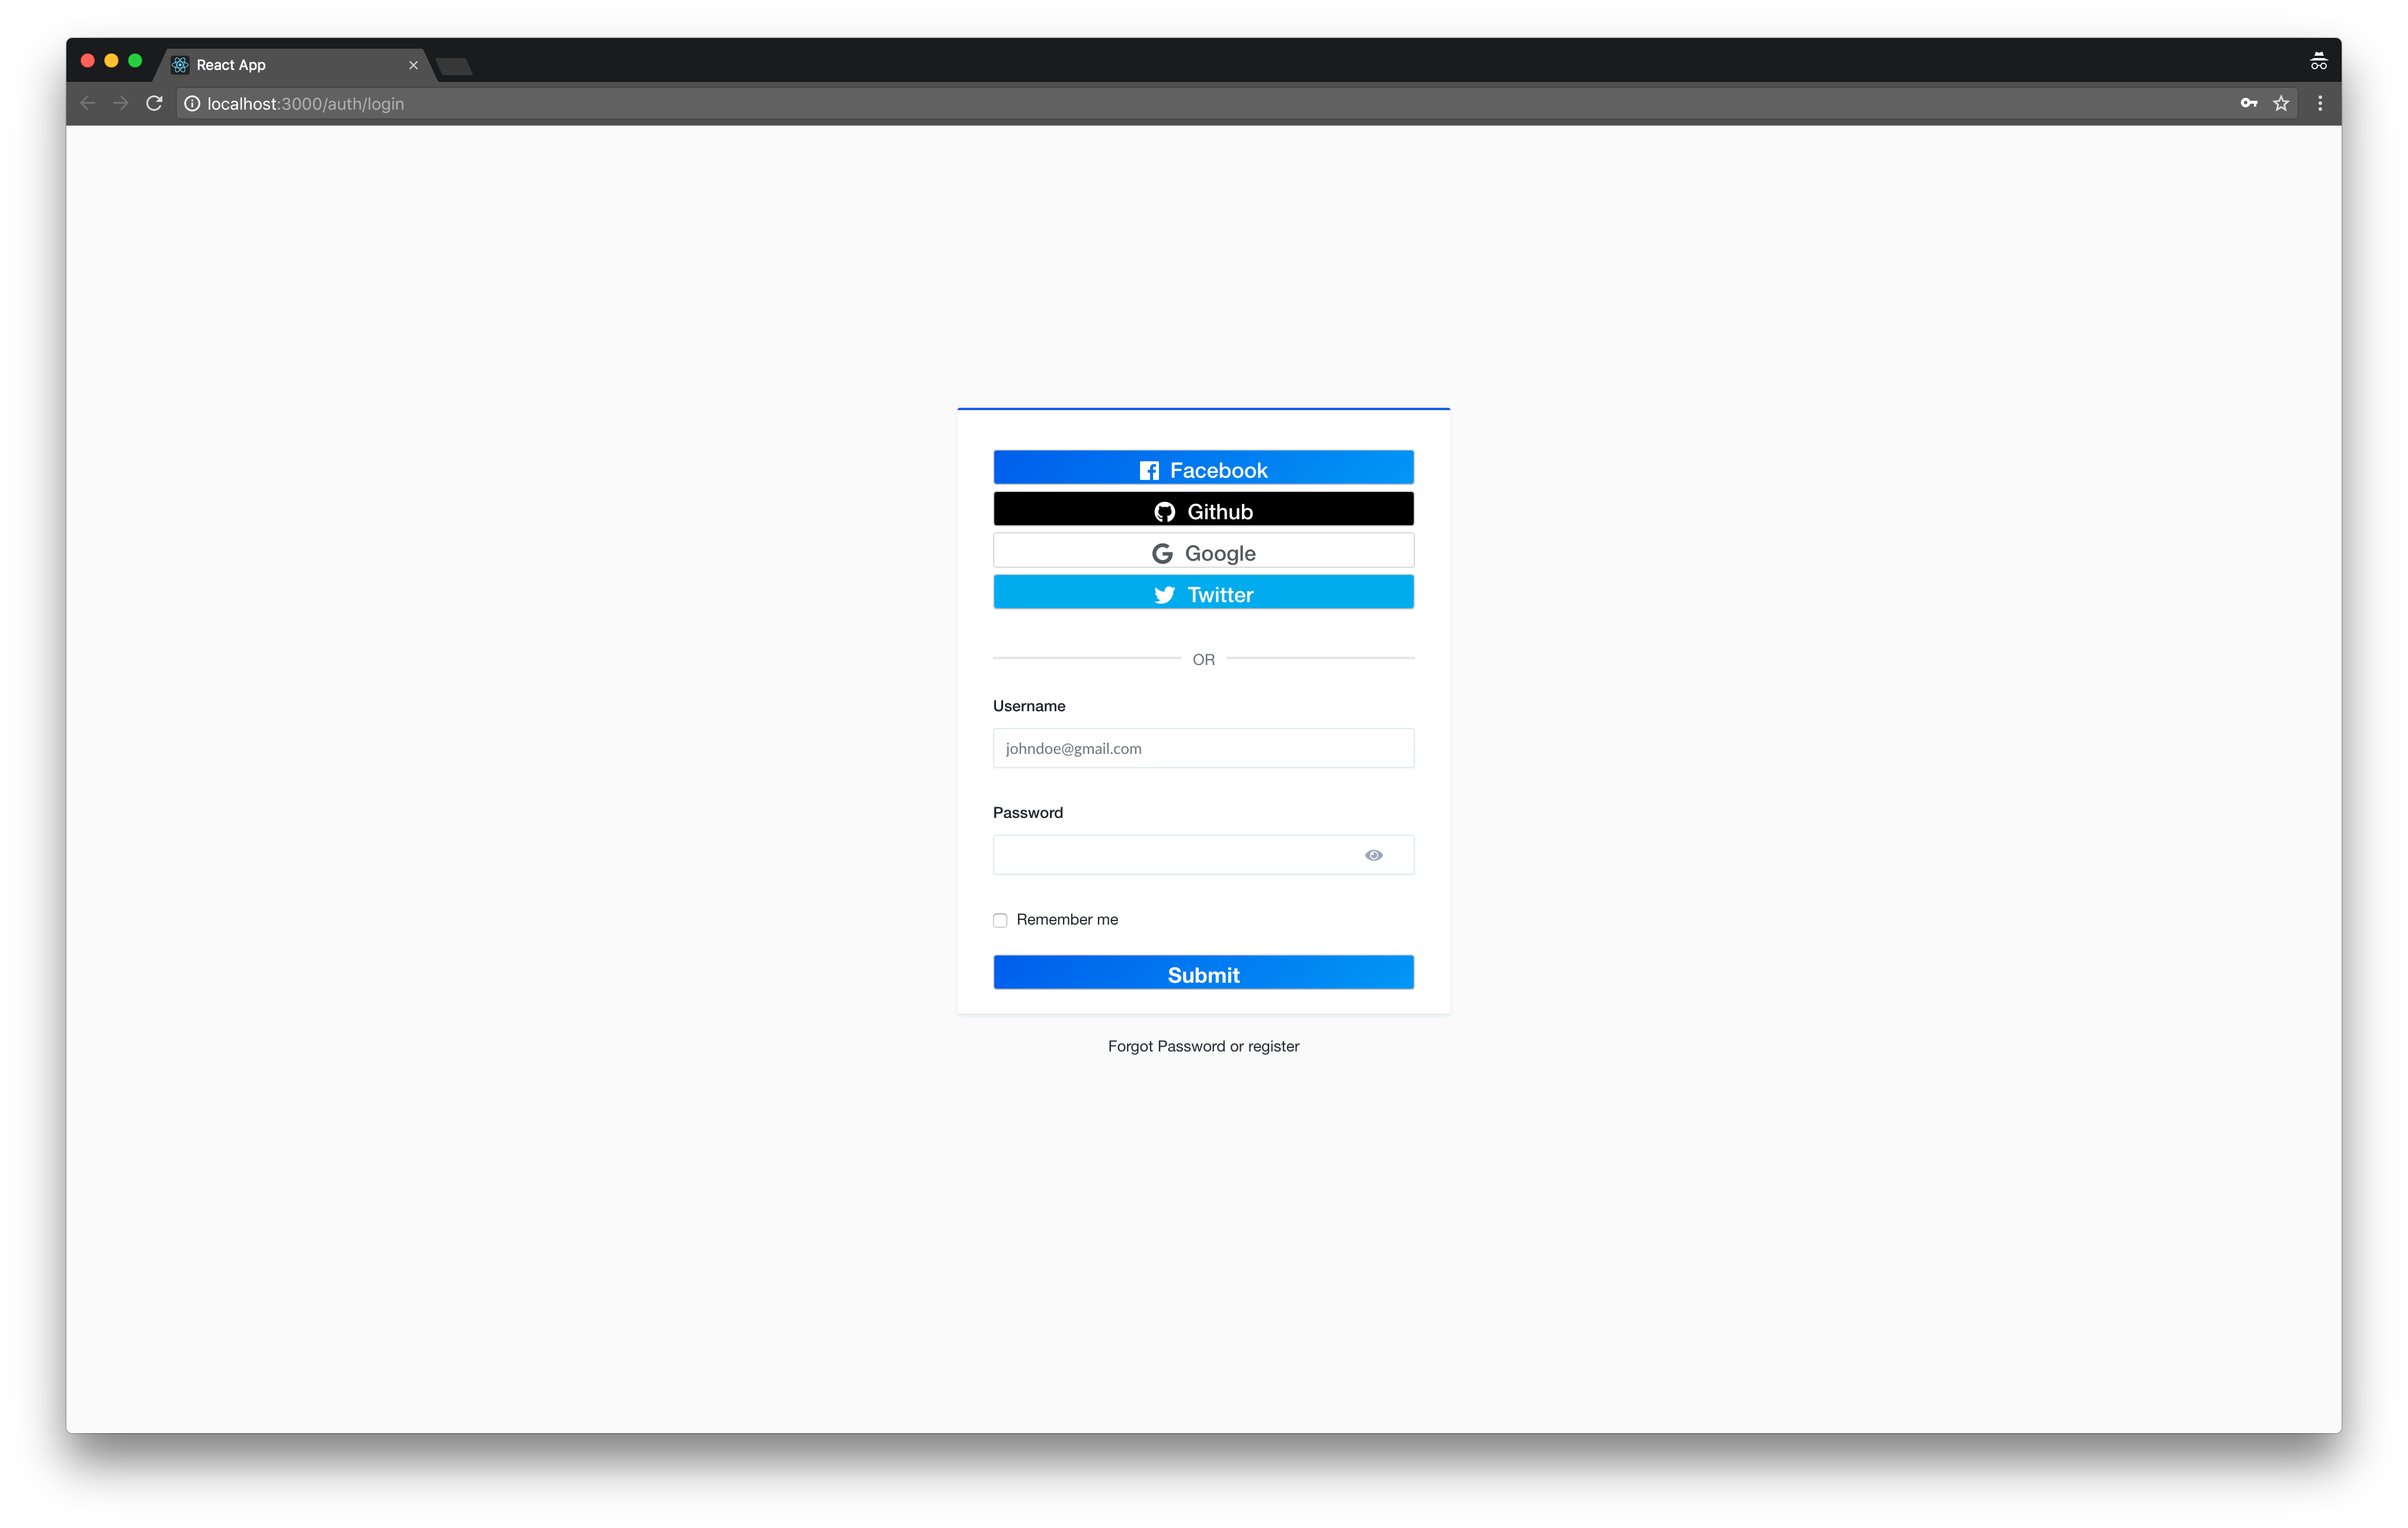
Displaying the Providers in the AuthPage
To do so, we need a SocialLink component like the following:
    /**
     *
     * SocialLink
     *
     */
    import React from 'react';
    import { capitalize } from 'lodash';
    import PropTypes from 'prop-types';
    import Button from '../../components/Button';
    import './styles.css';

    function SocialLink({ provider }) {
      return (
        <a href={`http://localhost:1337/api/connect/${provider}`} className="link">
          <Button type="button" social={provider} style={{ width: '100%' }}>
            <i className={`fab fa-${provider}`} style={{ marginRight: '10px' }} />
            {capitalize(provider)}
          </Button>
        </a>
      );
    }

    SocialLink.propTypes = {
      provider: PropTypes.string.isRequired,
    };
    export default SocialLink;
And we need to add it to the AuthPage:
    function AuthPage() {
      const providers = ['facebook', 'github', 'google', 'twitter']; // To remove a provider from the list just delete it from this array...

      return (
         <div>
           {providers.map(provider => <SocialLink provider={provider} key={provider} />)}
           {/* Some other code */}
         </div>
      );
    }
That's pretty much what we need to do for the frontend application. Now, we just need to setup Strapi to enable custom providers.
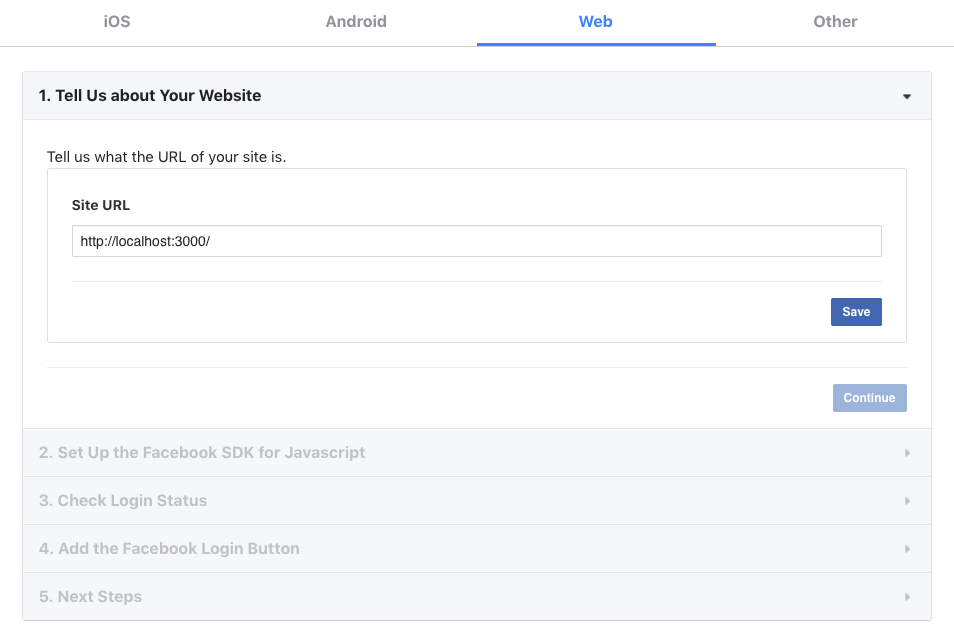
To set up Facebook so we can register our users:
Go to Facebook developers and create an app called test.
- In the Select an app type**, **choose
Consumerand click Next. - For Display name, let’s also use
test, and click theCreate appbutton. This would take us to the Add Products page, where we would set up Facebook Login.

- Select the Web setup and proceed to next setup.
- Set
http://localhost:3000as your website URL.
- Copy for App Id and App Secret from the dashboard page of your app.

- In the
Facebook login>Settings, add:http://localhost:1337/api/connect/facebook/callbackin theValid OAuth Redirect URLsfield.

Setting up Strapi
Now that you have created your app on Facebook, you need to configure the Facebook provider in your project.
Go to Settings > Providers tab of the USERS & PERMISSIONS PLUGIN section and fill the form like the following:

Don't forget to save your modifications.
Conclusion
Also, here’s an example which also has the authentication flow already implemented.
Feel free to share it and give your feedback in the comments!