

How to Build a To-Do List Application with Strapi and ReactJS
This article uses the ToDo list example to cover the process of creating collections, creating RESTful APIs, manipulating data entries, and packaging

Content marketing for developers
Author: Chigozie Oduah
In this guide, we will use Strapi and ReactJS to build a To-Do List application. This application is simple enough to give a basic understanding of how we create backend APIs using Strapi. We start our project by building the backend first, then we build the frontend, and we finally merge them as a single project.
This guide does not cover every single detail of the Strapi or the React framework. This article doesn’t cover the following:
- Authenticating users with Strapi
- Restricting access to APIs in Strapi
- Building websites with ReactJS
Outline
- What is Strapi?
- Setting up Strapi
- Build the Backend
- Setting up React
- Build the Frontend
- Integrating the Frontend with Strapi
- Conclusion
Prerequisites
You need to have knowledge of the following to fully understand this guide:
- ReactJS
- Strapi
- RESTful APIs
You don’t need an advanced knowledge of Strapi to follow this guide. You must have a NodeJS version greater than 12 installed, along with either yarn or npm package manager.
What is Strapi?
Strapi is an open-source headless CMS (short for Content Management Systems) that allows you to quickly create and maintain RESTful JavaScript APIs. Strapi helps in creating both simple and complex backends, either as an individual or an organization. Strapi is built on NodeJS, which provides high performance in processing large amounts of requests simultaneously.
Setting up Strapi
We start our project by creating a Strapi application. This application provides an admin page that allows us to handle the operations within our backend. We create a Strapi app using any of the following commands depending on your package manager:
- npm:
npx create-strapi-app todo-list --quickstart
- yarn:
    yarn install global create-strapi-app
    yarn create-strapi-app todo-list --quickstart
yarn version 3 and above:
yarn dlx create-strapi-app todo-list --quickstartIf the command creates our Strapi app successfully, we run our application in development mode. We use the development mode to create data collections and API endpoint to those collections. The development mode creates a local server, which allows us to to the following:
Manipulate data collections
- Create API endpoints
- Setup 3rd-party authentication
- Setup normal authentication
To run our application development mode, we navigate to the todo-list folder, and run any of the following commands:
- npm:
npm run develop
- yarn:
If we open the http://localhost:1337/admin site, our application should look like the below.yarn run develop

This page allows us to create an admin account. Having an admin account signifies that you own the application. Only the owner of the application has exclusive access to the backend operations, which ensures the security of your application.
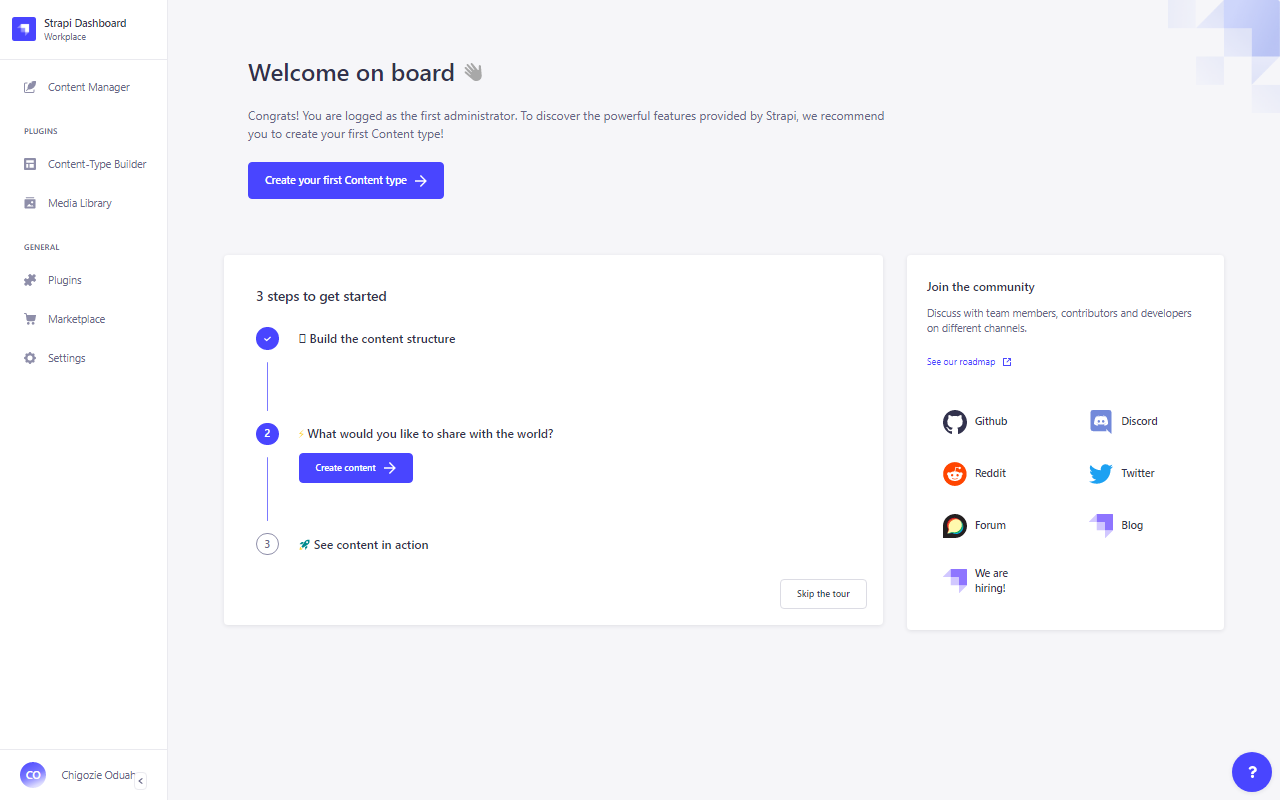
When we create an admin account, the application takes us to the dashboard. This dashboard displays all the possible operations that we can perform on the left panel.
Building the Backend
In this section, we'll build the backend for our to-do list. The backend gives us a basic idea of how data will flow between the ends of our application. We build it using the following steps:
Step 1: Create a To-Do Collection
A collection is a group of data that have similar skeletal structure. Strapi creates separate API endpoints for each collection. We go through the following steps to create our "Todo" collection:
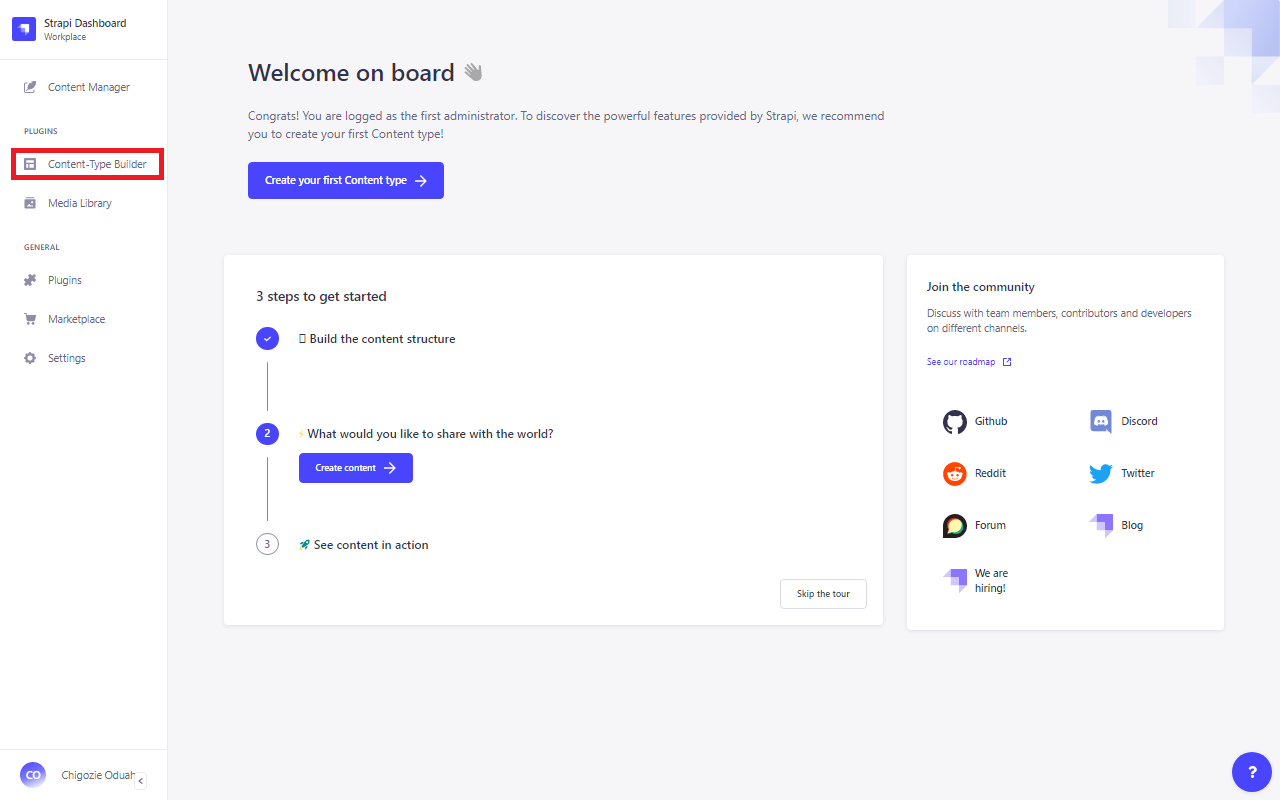
- Navigate to “Content-Type Builder” under “plugins”. This page presents tools for creating collections.
- Click on “Create new collection type” to create our collection.

- Enter “Todo” (you can choose any other name if you want) as the display name. Strapi uses this name to reference this collection within our application. Strapi automatically uses the display name to fill the rest of the text boxes.
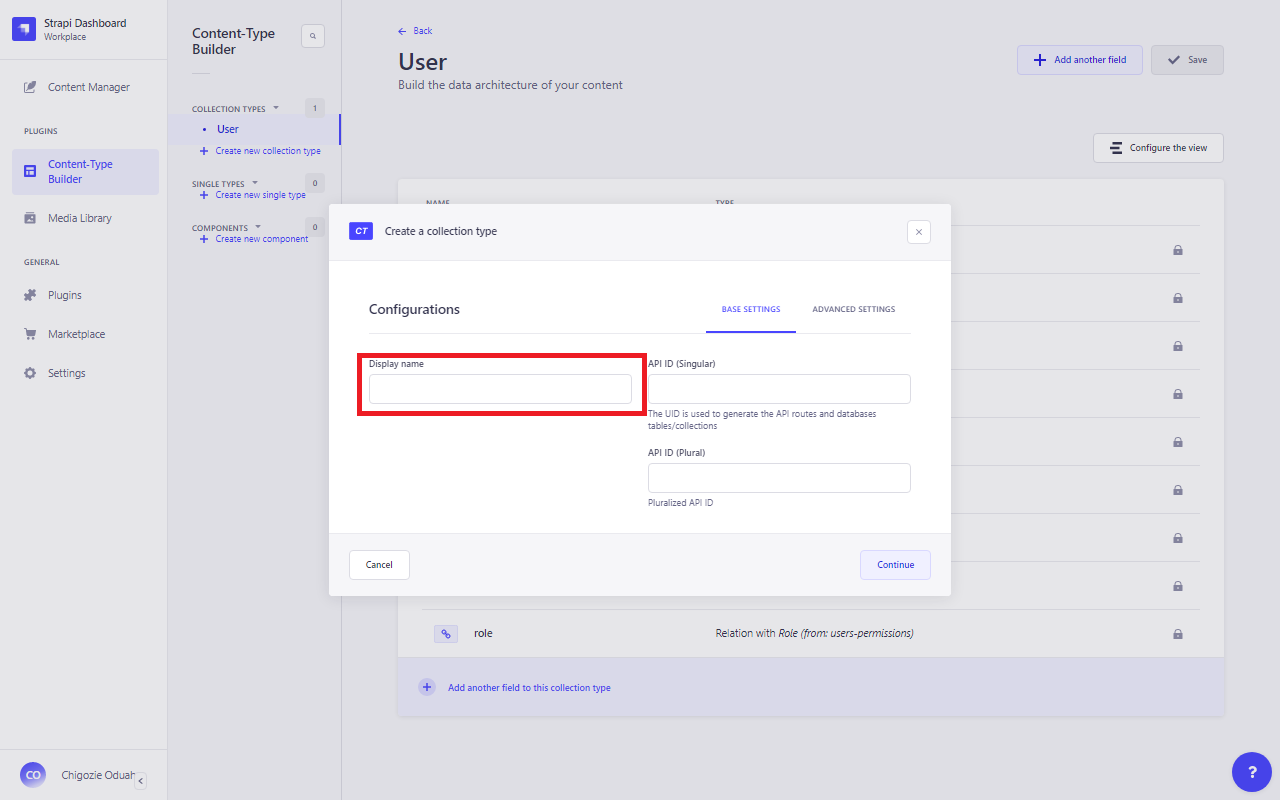
- Click “Continue” to proceed with creating the collection.

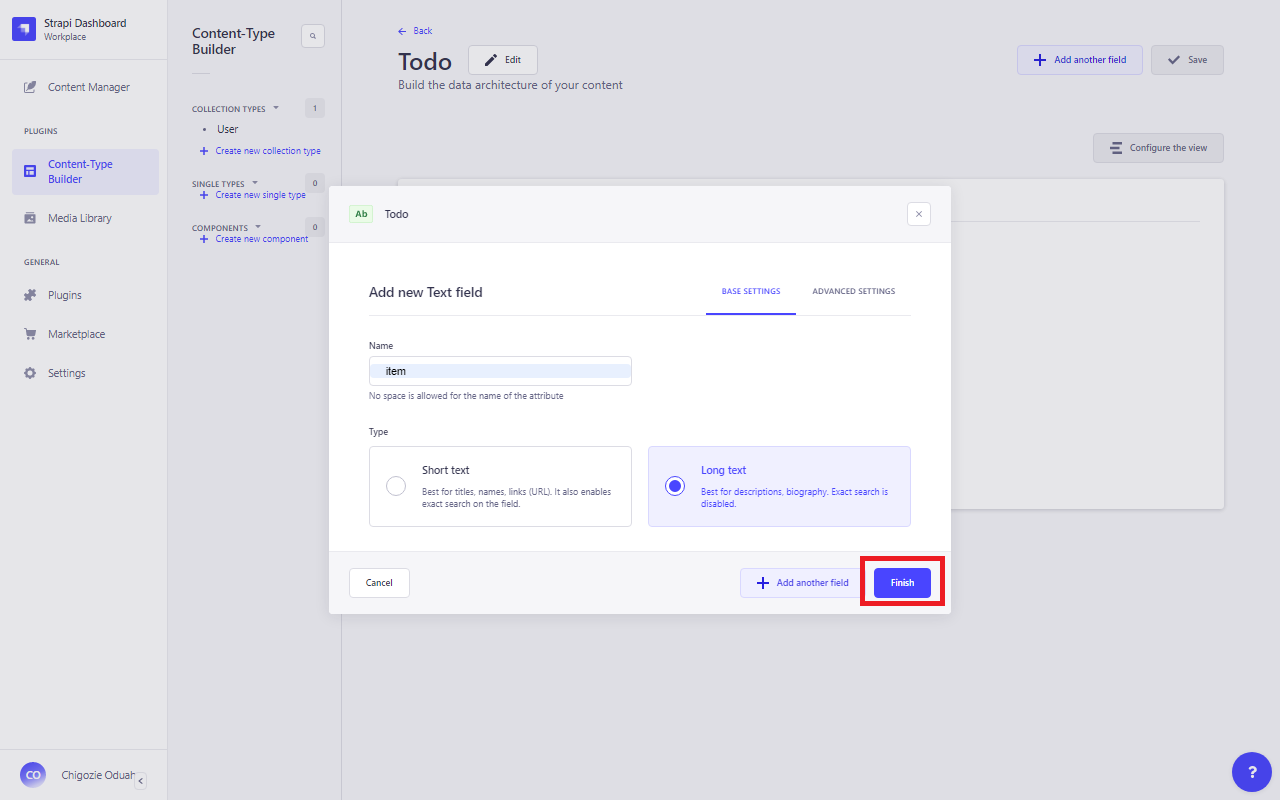
- Add a text field to the collection; this field holds the a todo text.

- Enter “item” (you can choose any other name if you want) as the name of our field and select long text.
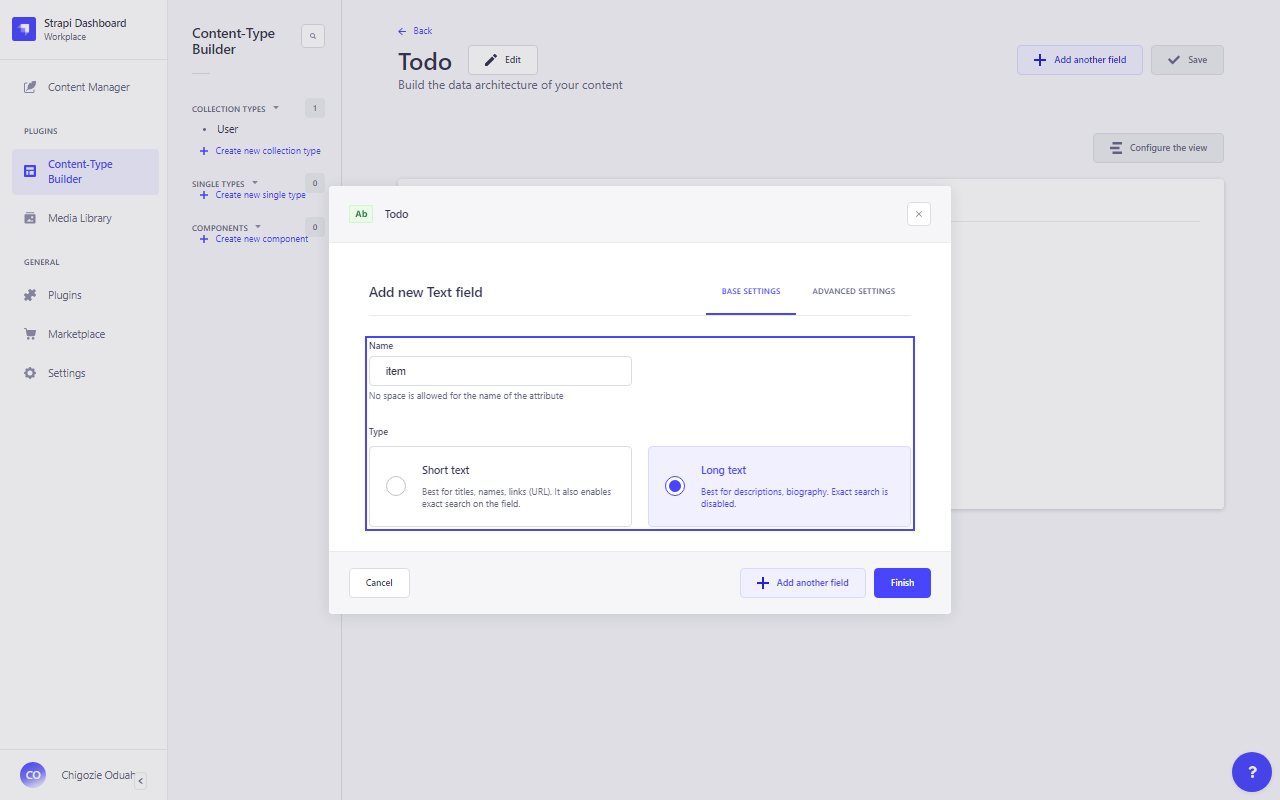
- Click on the “Finish” button to create our field.
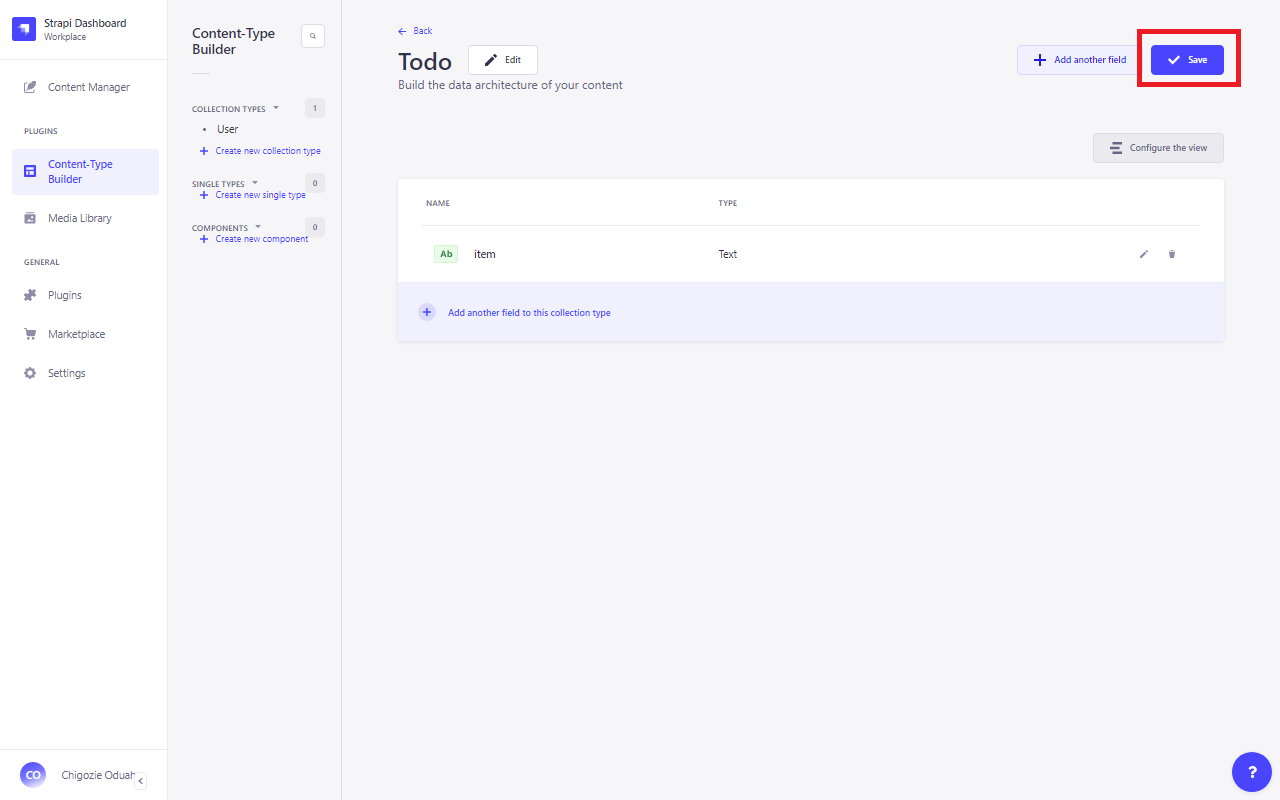
- Click on “save” to register the collection in our application. Registering a collection makes the server to restart.
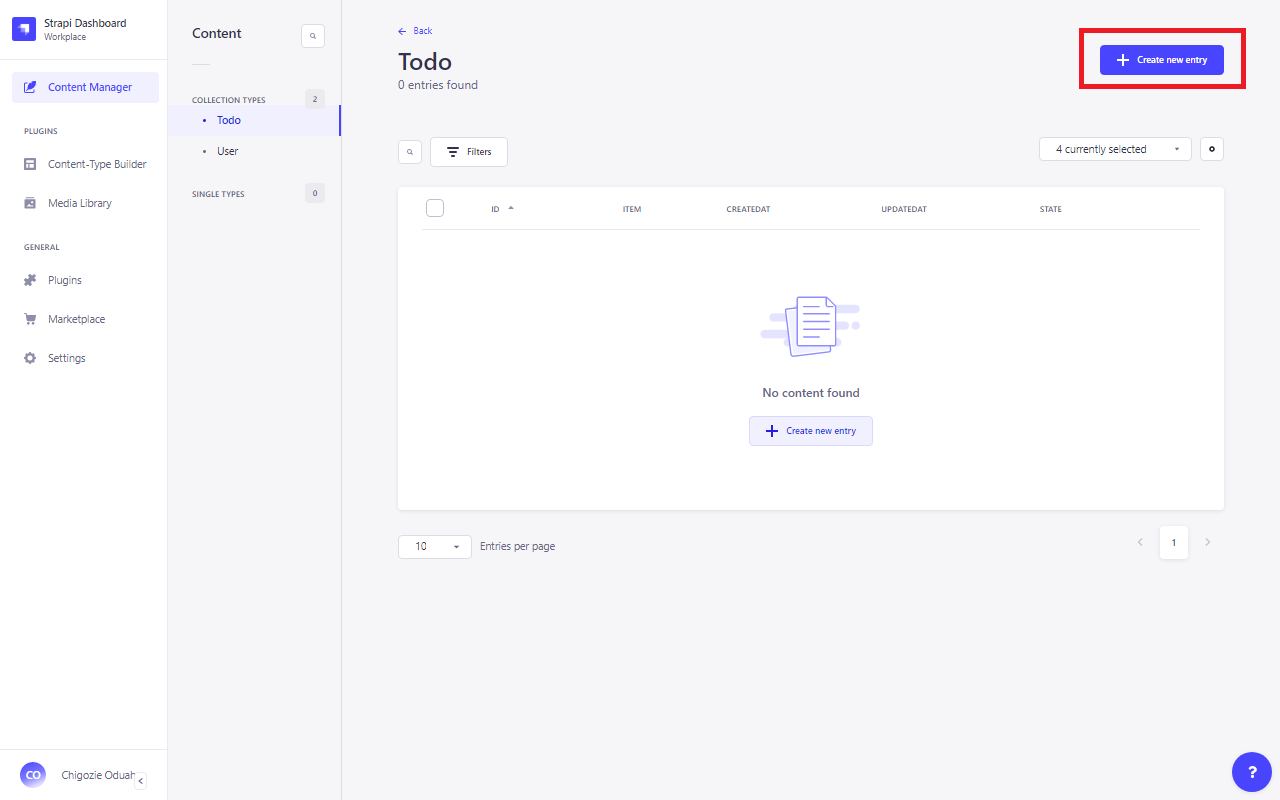
Step 2: Add Test Entries
After the collection is created, we add test entries. We create test entries to see if the collection handles data as expected. We add entries to our collection through the following steps:
Navigate to “Content Manager”. We use this page to manipulate the entries of our collection.
Click on “Create new entry” in the “Todo” collection type.
Write any text into the “item” box.

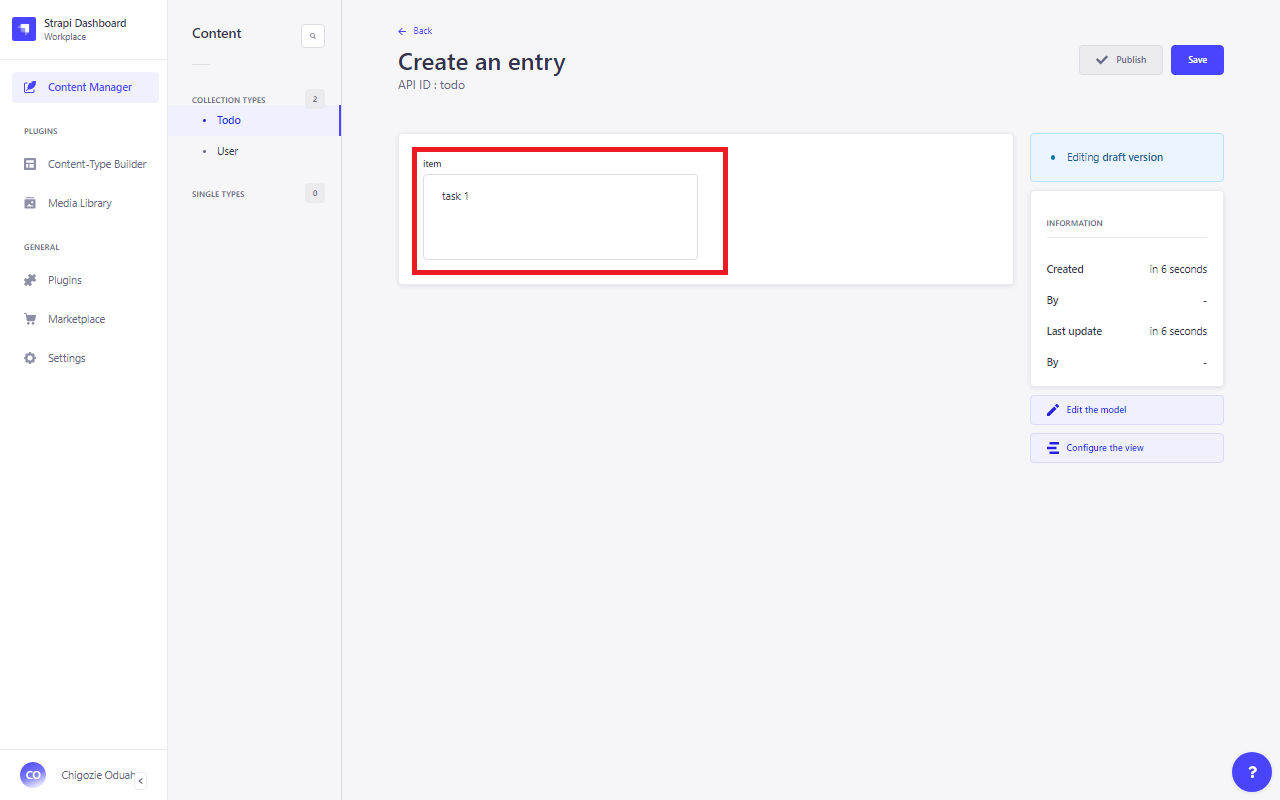
- Save the item to create a draft
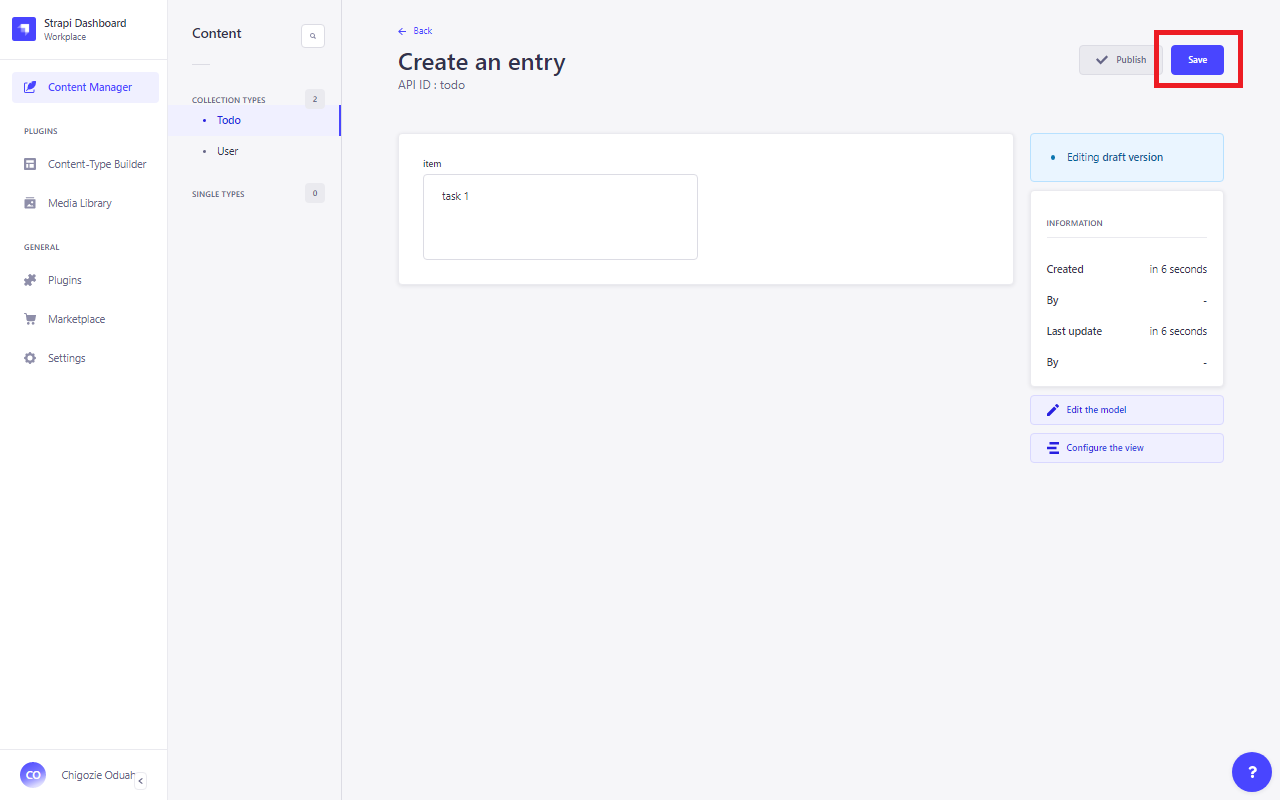
- Publish the item to register it in the collection.
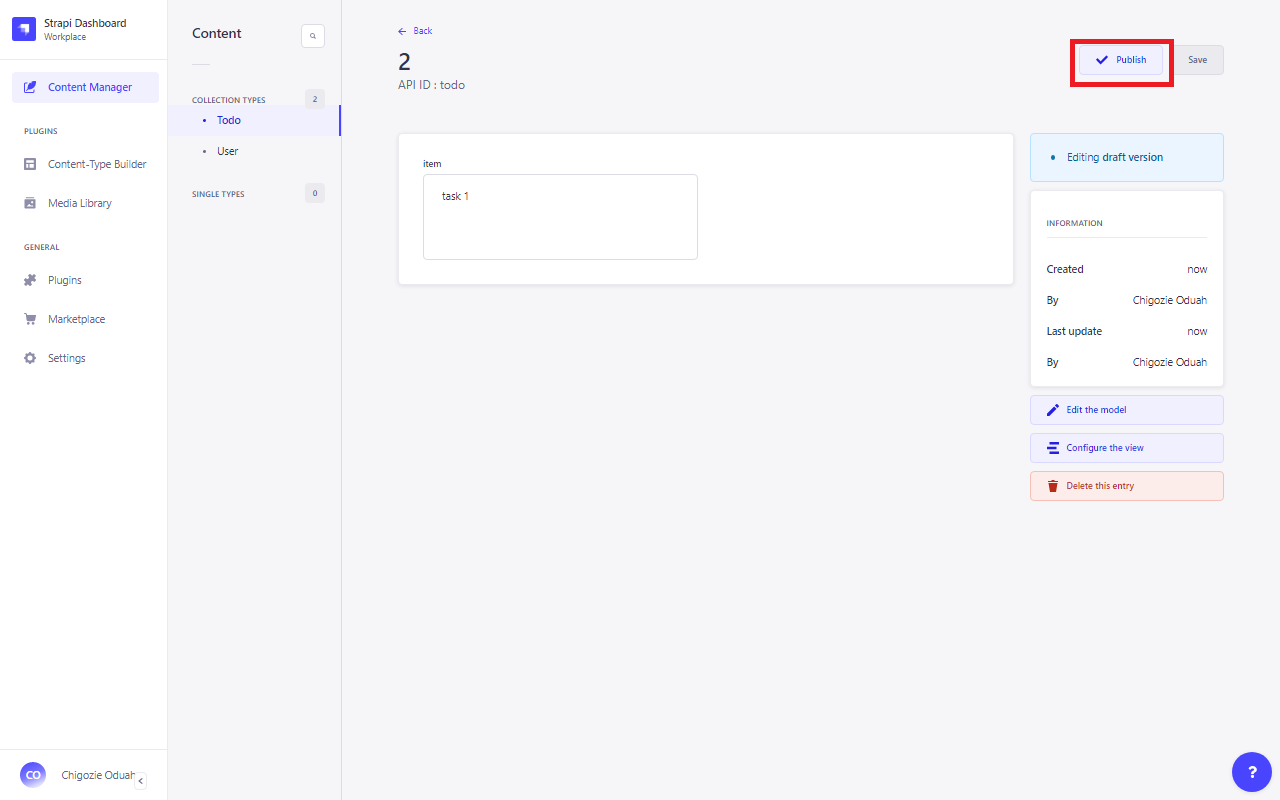
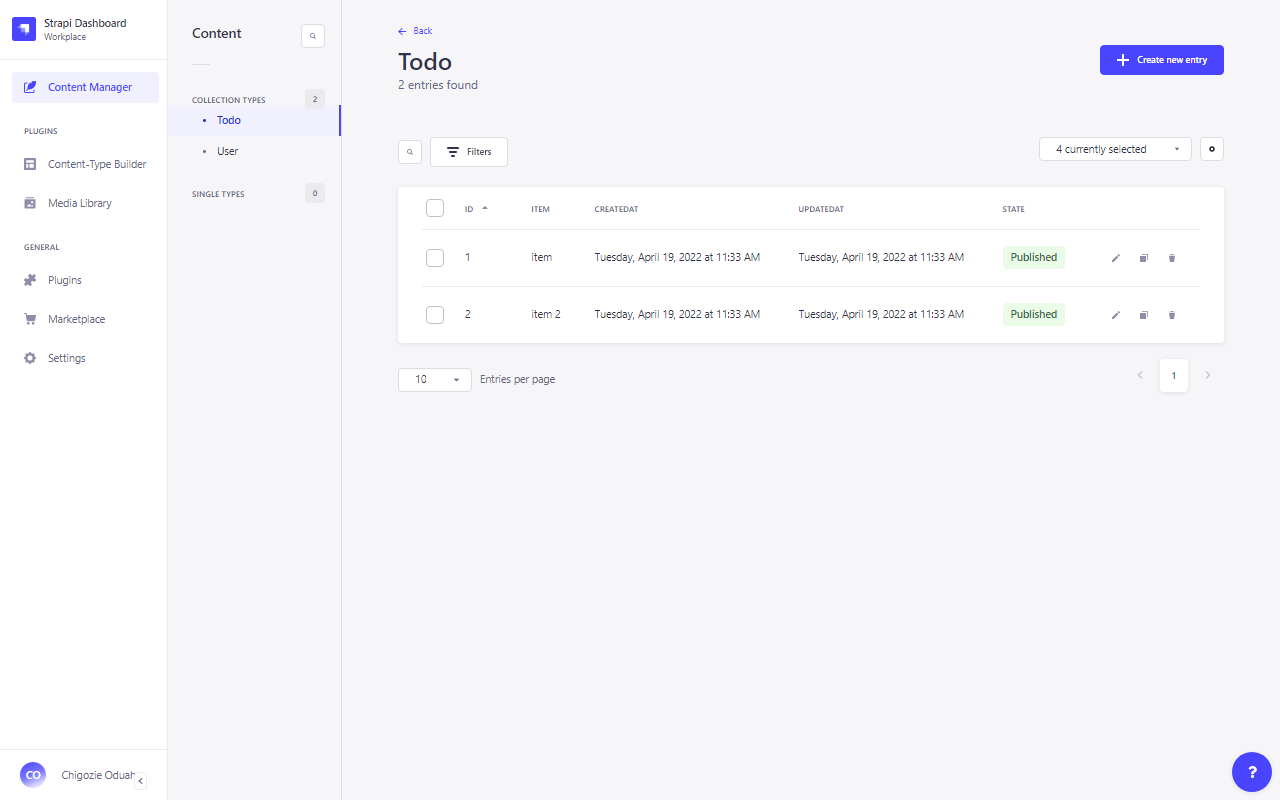
- Repeat the steps at least once to have at least two items in our collection
Step 3: Create API Endpoint for our Collection
We create API endpoints for our frontend using the Todo collection. These endpoints allows a frontend to interact with our collection. We go through the following steps to create the endpoints:
- Navigate to “Settings” under “general”.

- Click on “Roles” under “user permission & roles”.

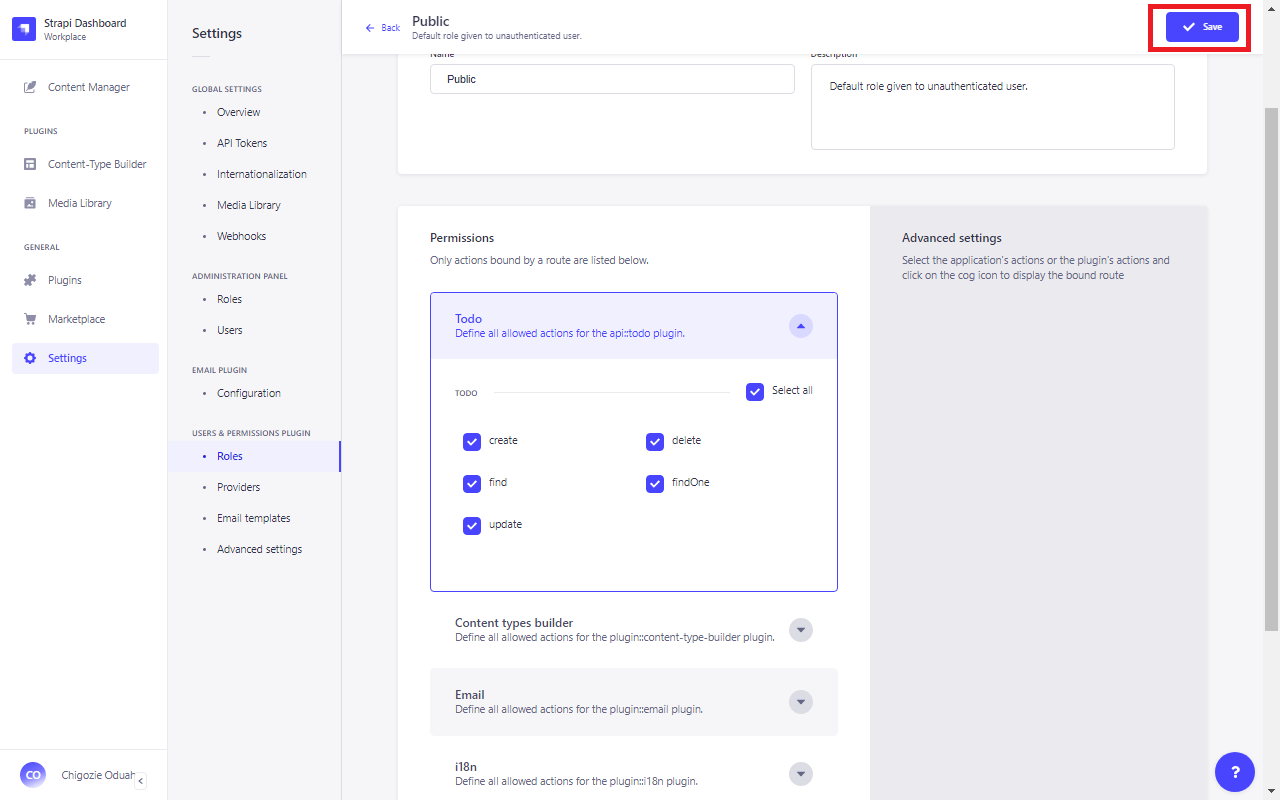
- Click on “public” to open the permissions given to the public.

- Toggle the “Todo” dropdown under “Permissions”. This controls public access to the “Todo” collection.

- Click on “Select all” to allow public access to the collection without authentication through the endpoints.

- Save the changes.
After performing the steps above, the following endpoints will be created for each of the permission created:
- Find (/api/todos GET ): We use this endpoint to get all the items in our Todo collection. If we call the endpoint we get a response like the following.
    {
        "data": [
            {
                "id": 1,
                "attributes": {
                    "item": "item",
                    "createdAt": "2022-04-19T10:33:44.577Z",
                    "updatedAt": "2022-04-19T10:33:45.723Z",
                    "publishedAt": "2022-04-19T10:33:45.718Z"
                }
            },
            {
                "id": 2,
                "attributes": {
                    "item": "item 2",
                    "createdAt": "2022-04-19T10:33:56.381Z",
                    "updatedAt": "2022-04-19T10:33:58.147Z",
                    "publishedAt": "2022-04-19T10:33:58.144Z"
                }
            }
        ],
        "meta": {
            "pagination": {
                "page": 1,
                "pageSize": 25,
                "pageCount": 1,
                "total": 2
            }
        }
    }
Create (/api/todos POST): We use this endpoint to create a new item in our to-do collection. For example, if we send the request below, we will get the response that follows.
- Request:
{
      "data": {
              "item": "item 3"
      }
}
- Request:
Response:
  {
      "data": {
          "id": 3,
          "attributes": {
              "item": "item 3",
              "createdAt": "2022-04-19T13:17:36.082Z",
              "updatedAt": "2022-04-19T13:17:36.082Z",
              "publishedAt": "2022-04-19T13:17:36.079Z"
          }
      },
      "meta": {}
  }
Find one (/api/todos/ GET): We use this endpoint to get an item in our Todo collection. We replace with the id of the item we want to reference. If we call the /api/todos/2 endpoint, we get a response similar to the following:
    {
        "data": {
            "id": 2,
            "attributes": {
                "item": "item 2",
                "createdAt": "2022-04-19T13:15:10.869Z",
                "updatedAt": "2022-04-19T13:15:11.839Z",
                "publishedAt": "2022-04-19T13:15:11.836Z"
            }
        },
        "meta": {}
    }
- Update (/api/todos/ PUT): We use this endpoint to update an item in our Todo collection. We replace with the id of the item we want to update. If we send the below request the /api/todos/2 endpoint, if the item in the collection is updated, we get a response like the one that follows:
- Request:
    {
            "data": {
                    "item": "2nd item"
            }
    }
- Response:
{
   "data": {
       "id": 2,
       "attributes": {
           "item": "2nd item",
           "createdAt": "2022-04-19T13:17:36.082Z",
           "updatedAt": "2022-04-19T13:51:06.266Z",
           "publishedAt": "2022-04-19T13:14:59.823Z"
       }
   },
   "meta": {}
}
- Delete (/api/todos/ DELETE): We use this endpoint to delete an item in our Todo collection. We replace with the id of the item we want to delete. If we call the /api/todos/2 endpoint, if the item is deleted in the collection, we get a response like the following:
    {
        "data": {
            "id": 2,
            "attributes": {
                "item": "item 2",
                "createdAt": "2022-04-19T13:17:36.082Z",
                "updatedAt": "2022-04-19T13:15:11.839Z",
                "publishedAt": "2022-04-19T13:15:11.836Z"
            }
        },
        "meta": {}
    }
Setting up ReactJS
ReactJS is a JavaScript framework for building web applications. This framework is popular and beginner-friendly, which is why we will be using it in this guide. We create a React application with any of the following commands:
- yarn
    yarn install global create-react-app
    yarn create-react-app todo-frontend
- yarn 3 and above:
yarn dlx create-react-app todo-frontend
- npm:
npx create-react-app todo-frontend
After we create the react app, we create two files for the environment variables, and write the following into it:
- .env.development
REACT_APP_BACKEND=http://localhost:1337/
- .env.production
REACT_APP_BACKEND=/
.env.development contains the environment variables for development, and .env.production contains the environment variables for development.
Building the Frontend
Now that we have our React project setup, we copy the following into the App.js file:
    import { useState, useEffect } from 'react';
    import TodoItem from './TodoItem';
    import './App.css';

    function App() {
      const [todos, setTodos] = useState([]);
      const [newTodo, setNewTodo] = useState("");

      useEffect(() => {
        // update update the list of todos
        // when the component is rendered for the first time
        update();
      }, []);

      // This function updates the component with the
      // current todo data stored in the server
      function update() {
        fetch(`${process.env.REACT_APP_BACKEND}api/todos`)
          .then(res => res.json())
          .then(todo => {
            setTodos(todo.data);
          })
      }

      // This function sends a new todo to the server
      // and then call the update method to update the
      // component
      function addTodo(e) {
        e.preventDefault();
        let item = newTodo;
        let body = {
          data: {
            item
          }
        };

        fetch(`${process.env.REACT_APP_BACKEND}api/todos`, {
          method: "POST",
          headers: {
            'Content-type': 'application/json'
          },
          body: JSON.stringify(body)
        })
          .then(() => {
            setNewTodo("");
            update();
          })
      }

      return (
        <div className="app">
          <main>
            {/* we centered the "main" tag in our style sheet*/}

            {/* This form collects the item we want to add to our todo, and sends it to the server */}
            <form className="form" onSubmit={addTodo}>
              <input type="text" className="todo_input" placeholder="Enter new todo" value={newTodo} onChange={e => setNewTodo(e.currentTarget.value) }/>
              <button type="submit" className="todo_button">Add todo</button>
            </form>

            {/* This is a list view of all the todos in the "todo" state variable */}
            <div>
              {
                todos.map((todo, i) => {
                  return <TodoItem todo={todo} key={i} update={update} />
                })
              }
            </div>

          </main>
        </div>
      )
    }
    export default App;
After copying the above into our App.js file, we create the TodoItem.jsx component file in the same directory. This component renders each item of our to-do list. We copy the following into our TodoItem.jsx file:
    import { useState } from "react";
    import './App.css';

    function TodoItem({ todo, update }) {

      // Our component uses the "edit" state
      // variable to switch between editing
      // and viewing the todo item
      const [edit, setEdit] = useState(false);
      const [newTodo, setNewTodo] = useState("");

      // This function changes the to-do that
      // is rendered in this component.
      // This function is called when the
      // form to change a todo is submitted
      function changeTodo(e) {
        e.preventDefault();
        let item = newTodo;
        let pos = todo.id;
        let body = {
          data: {
            item
          }
        };

        fetch(`${process.env.REACT_APP_BACKEND}api/todos/${pos}`, {
          method: "PUT",
          headers: {
            'Content-type': 'application/json'
          },
          body: JSON.stringify(body)
        })
          .then(() => {
            setEdit(false);
            update();
          })
      }

      // This function deletes the to-do that
      // is rendered in this component.
      // This function is called when the
      // form to delete a todo is submitted
      function deleteTodo(e) {
        e.preventDefault();
        let pos = todo.id;

        fetch(`${process.env.REACT_APP_BACKEND}api/todos/${pos}`, {
          method: "DELETE"
        })
          .then(() => {
            update();
          })
      }

      return <div className="todo">
        {/*
          The below toggles between two components
          depending on the current value of the "edit"
          state variable
        */}
        { !edit
            ? <div className="name">{todo.attributes.item}</div>
            : <form onSubmit={changeTodo}>
                <input className="todo_input" type="text" placeholder="Enter new todo" value={newTodo} onChange={e => setNewTodo(e.currentTarget.value)} />
                <button className="todo_button" type="submit">Change todo</button>
              </form>
        }
        <div>
          <button className="delete" onClick={deleteTodo}>delete</button>
          <button className="edit" onClick={() => {
            // this button toggles the "edit" state variable
            setEdit(!edit)

            // we add this snippet below to make sure that our "input"
            // for editing is the same as the one for the component when
            // it is toggled. This allows anyone using it to see the current
            // value in the element, so they don't have to write it again
            setNewTodo(todo.attributes.item)
          }}>edit</button>
        </div>
      </div>
    }

    export default TodoItem;
After creating this component, we add CSS styling to our web page by copying the following into our App.css file.
    .app {
      display: flex;
      justify-content: center;
      text-align: center;
    }

    .todo_input {
      height: 16px;
      padding: 10px;
      border-top-left-radius: 8px;
      border-bottom-left-radius: 8px;
      border: 2px solid blueviolet;
    }

    .todo_button {
      border: 2px solid blueviolet;
      background-color: transparent;
      height: 40px;
      border-top-right-radius: 8px;
      border-bottom-right-radius: 8px;
    }

    .todo {
      display: flex;
      justify-content: space-between;
      margin-top: 5px;
      font-weight: 700;
      margin-bottom: 5px;
      min-width: 340px;
    }

    .edit {
      width: 66px;
      font-weight: 700;
      background: blueviolet;
      border: none;
      border-top-right-radius: 5px;
      height: 33px;
      border-bottom-right-radius: 5px;
      color: white;
      font-size: medium;
    }

    .delete {
      width: 66px;
      font-weight: 700;
      background: white;
      border: 2px solid blueviolet;
      border-top-left-radius: 5px;
      height: 33px;
      color: blueviolet;
      border-bottom-left-radius: 5px;
      font-size: medium;
    }

    .form {
      padding-top: 27px;
      padding-bottom: 27px;
    }

    .name {
      max-width: 190.34px;
      text-align: left;
    }
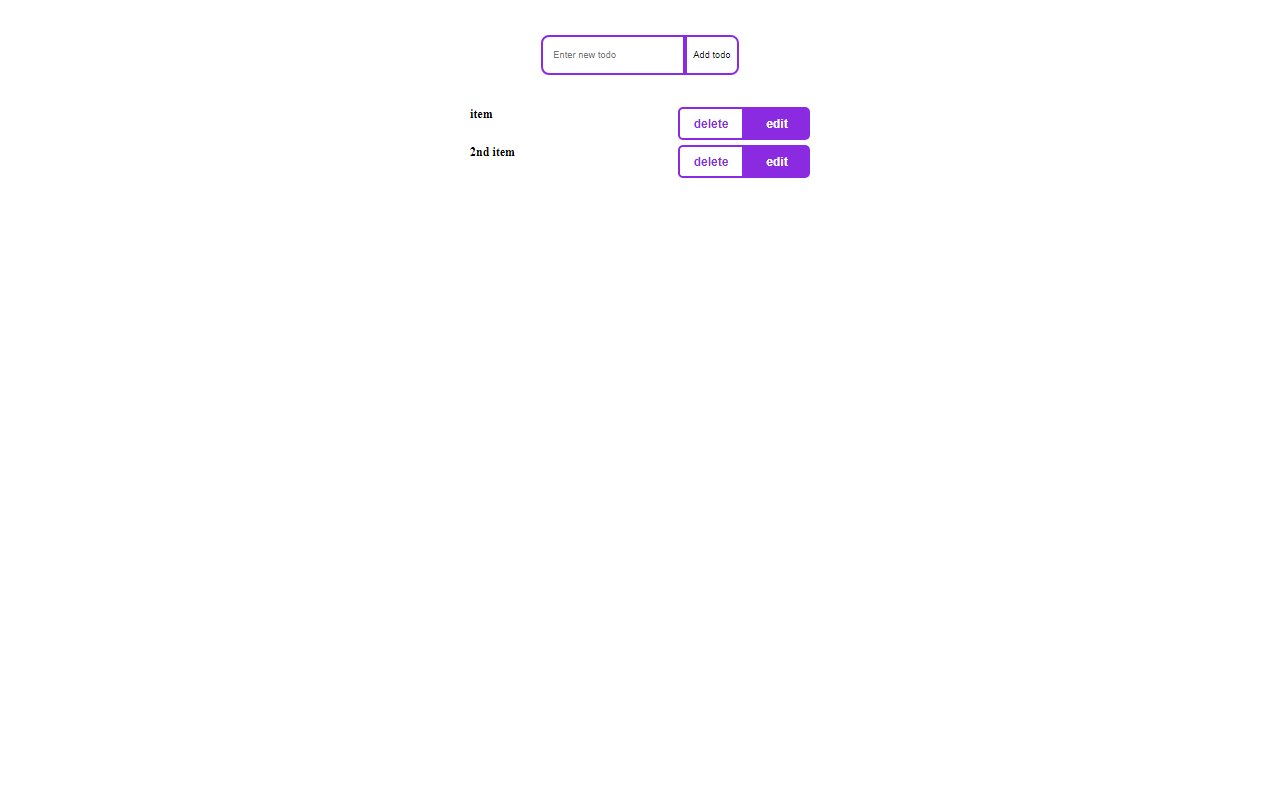
When we run this application, our website will look like the image below.
Integrating React with the Strapi
We can merge our React frontend and our Strapi backend into one full-stack project. Merging the two ends allows us to deploy our project on a single server. We follow the below steps to merge them together.
- Open the React project folder in our terminal.
- Run the build command for our project.
- Copy the contents of the generated “build” folder.
- Paste the contents of the folder into our Strapi “public” folder.
The build command is either of the following:
- yarn:
yarn run build
- npm:
npm run build
If we do the following, our application should come out right:
- Perform the steps correctly.
- Run our Strapi application.
- Open https://localhost:1337/ in our browser.
Conclusion
In this article, we covered the following:
- Creating a collection
- Adding a field to the collection
- Manipulating entries in a collection
- Creating endpoints with collections
- Interacting with endpoints
The to-do list application is a very simple application, which involves manipulating entries and RESTful APIs with the collections. You can find the project for this article in the GitHub repo.


