


In this tutorial, we'll learn how to create a small to-do app using two amazing technologies: Next.js and Strapi.
Strapi is an open-source Node.js headless CMS that gives developers the power to easily create self-hosted, customizable, and performant content REST/GraphQL APIs. It is easy to use. First, you create the content structures, i.e. the tables and models. Then, you can write, edit or manage any content type.
Next.js is the frontend part of the to-do app and Strapi will provide the API endpoints to the to-do app. Strapi ensures that we follow the best practices when creating and consuming web resources over HTTP.
For example, we have a book resource: /books. The HTTP verbs denote the action to be performed on the book’s resources. The books become a collection and a new book can be added, a book can be edited and a book can also be deleted.
post /books- A new bookput books/:id- Edit a book.get /books/:id- Get a book.delete /books/:id- Delete a book.
Books become the collection and any of the CRUD actions can be performed on a book as we have seen above. By the end of this tutorial, you will be able to create a Strapi API and a Next.js project. The Strapi will serve our to-dos backend while the Next.js will fetch the to-dos from the Strapi backend and render them.
Prerequisites
This project needs some software and tools to be installed before you can proceed:
- Nodejs: Strapi supports Nodejs v12.x or 14.x, you can download it from here Nodejs
- npm: NPM comes bundled with Nodejs.
- yarn: Yarn can be installed via npm:
npm I yarn -g - VS Code: The most popular code editor from Microsoft. Download from VS Code
Installing Strapi
Let’s begin by creating a central folder that will hold the Strapi backend and Next.js frontend. To proceed, launch your terminal and enter the following command to create a project folder.
mkdir strapi-ToDo-blog
This creates a strapi-ToDo-blog folder. Now, move into the folder:
cd strapi-todo-blog
Now, we scaffold our Strapi project:
npx create-strapi-app strapi-ToDo-blog --quickstart

The above command will create a new Strapi project and install the necessary dependencies.
To start your Strapi project navigate to the folder when you installed the Strapi project and run the command below:
npm run develop
Here, Strapi builds the admin UI with development configuration.

Next, Strapi runs the Strapi project by running the command:
strapi develop
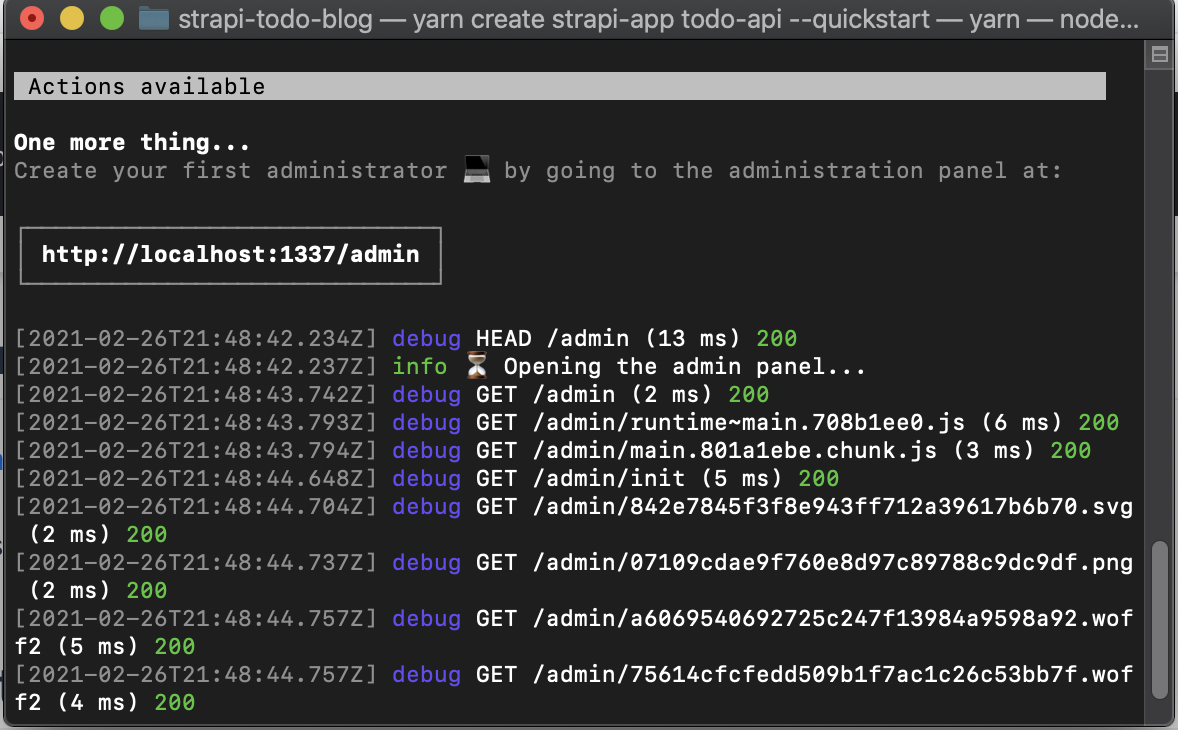
The Strapi server is started at localhost:1337. We can go to localhost:1337/admin to setup our admin privileges. Open your preferred browser and navigate to localhost:1337/admin
Fill in your details:

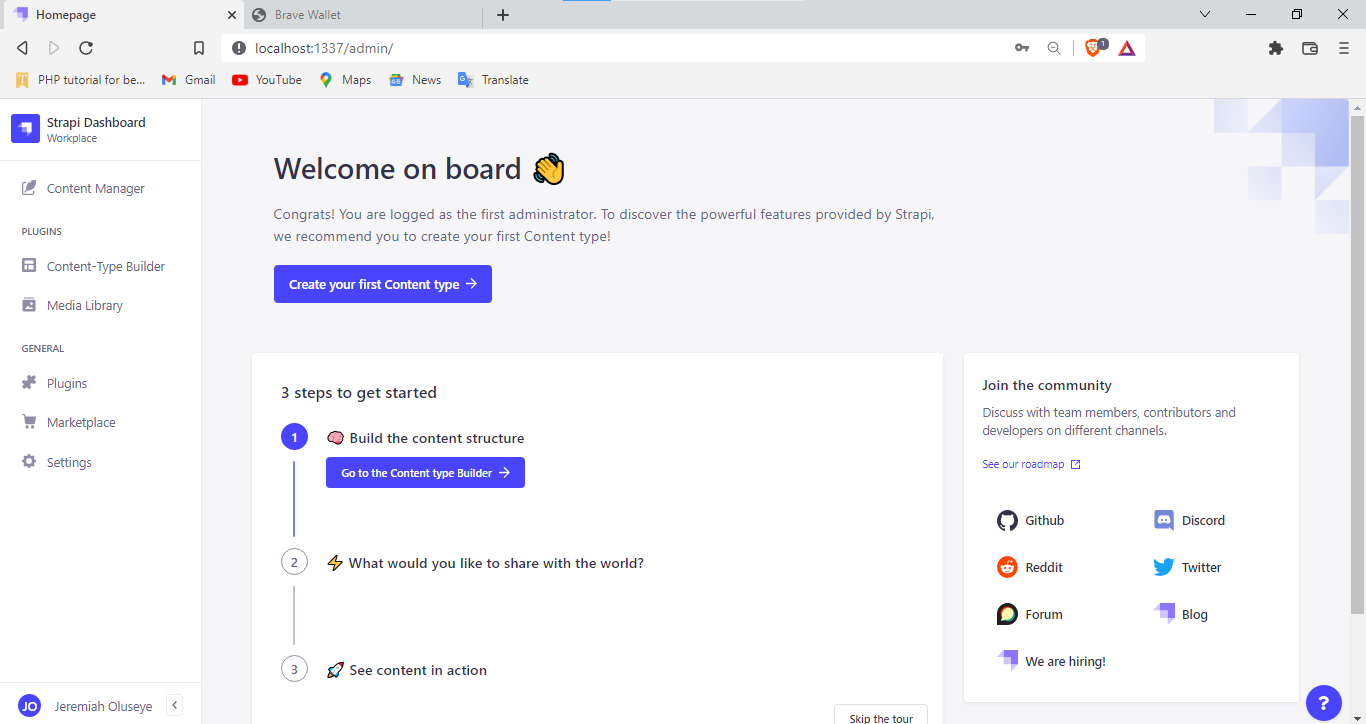
Then, click on the “LET’S START” button. Clicking on this button will create your account and the strapi UI for admin will show:
Creating Collections
Now, we will create the web resources. Go to Content-Types Builder and click on the Create new collection type.

A modal will appear, there is the Display name input box, enter To-Do.

Then, click on Continue.
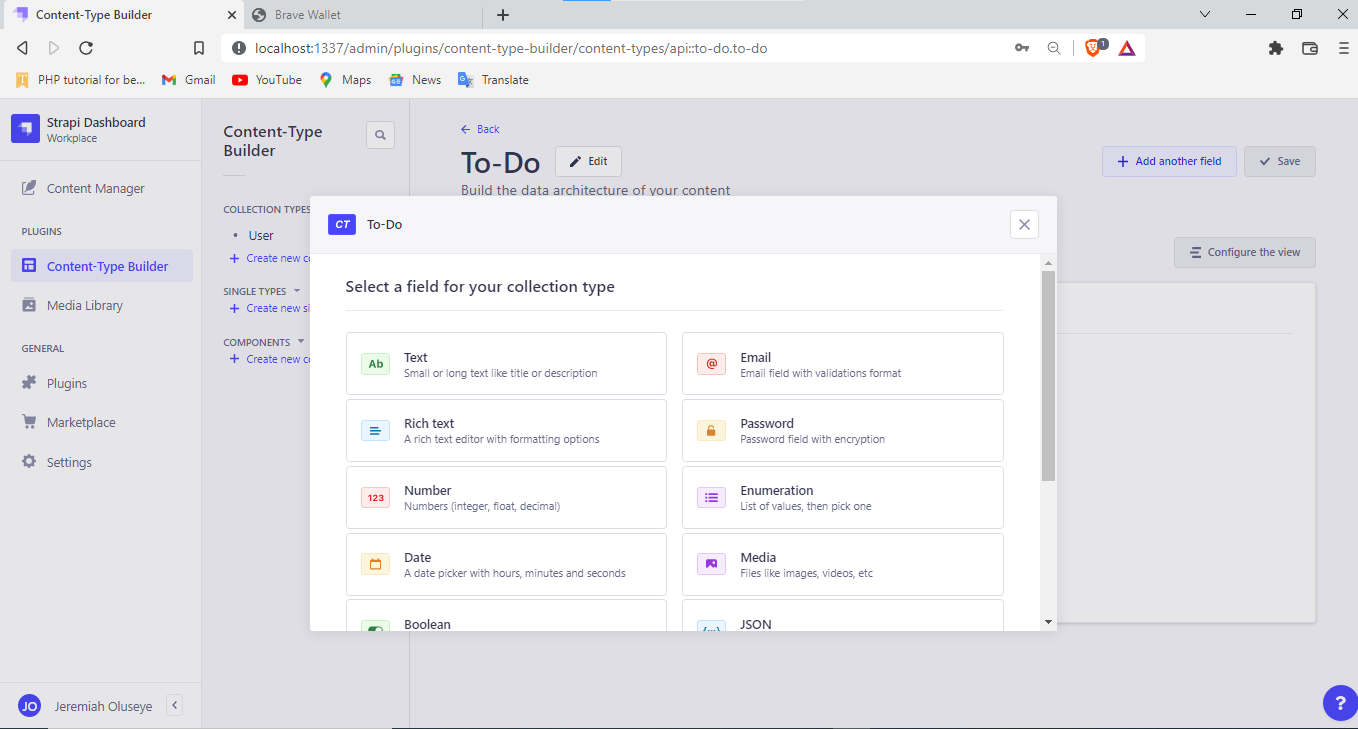
A modal will appear where we select the field for our collection type. Click on Text.

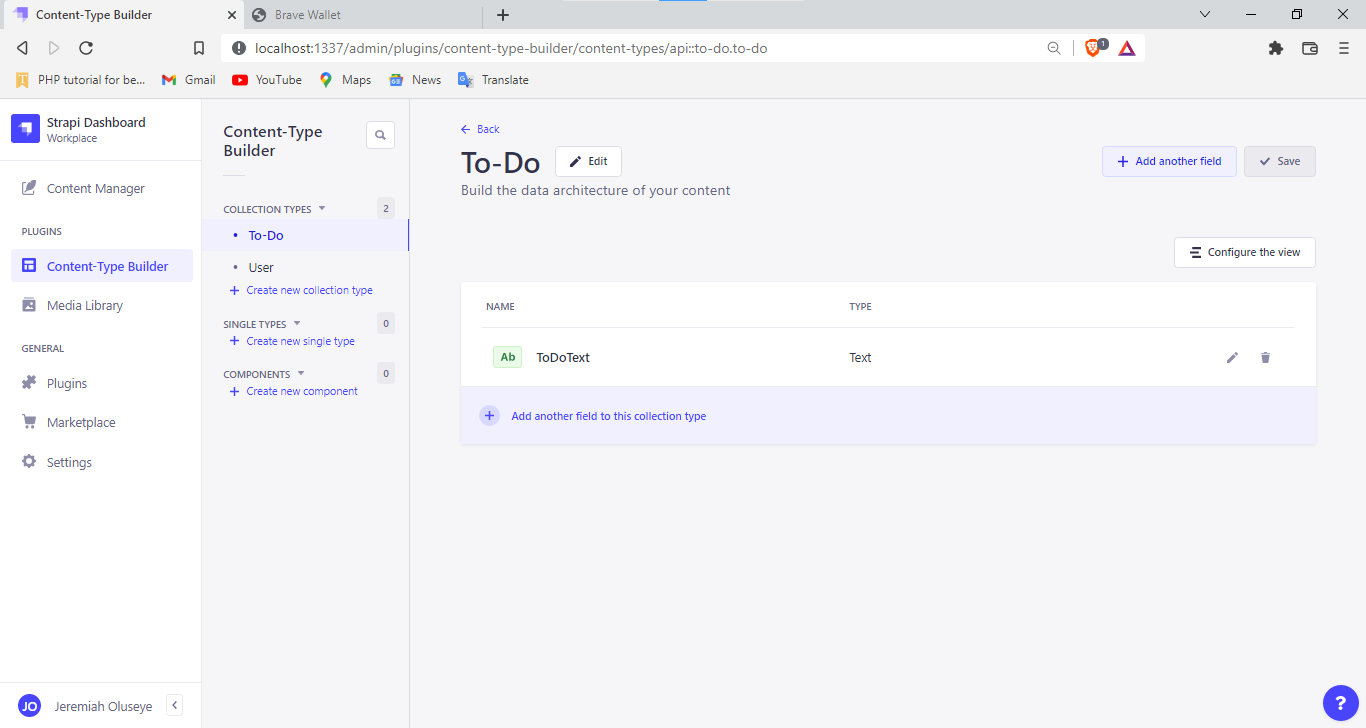
Enter the name of the field selected. Type in ToDojText, then click on "Finish".

Click on “Save”. On the sidebar, you'll see “COLLECTION TYPES” under it and you will see “Todo”.
Managing To-Do Content
Now to add some to-do items to the To-Do.
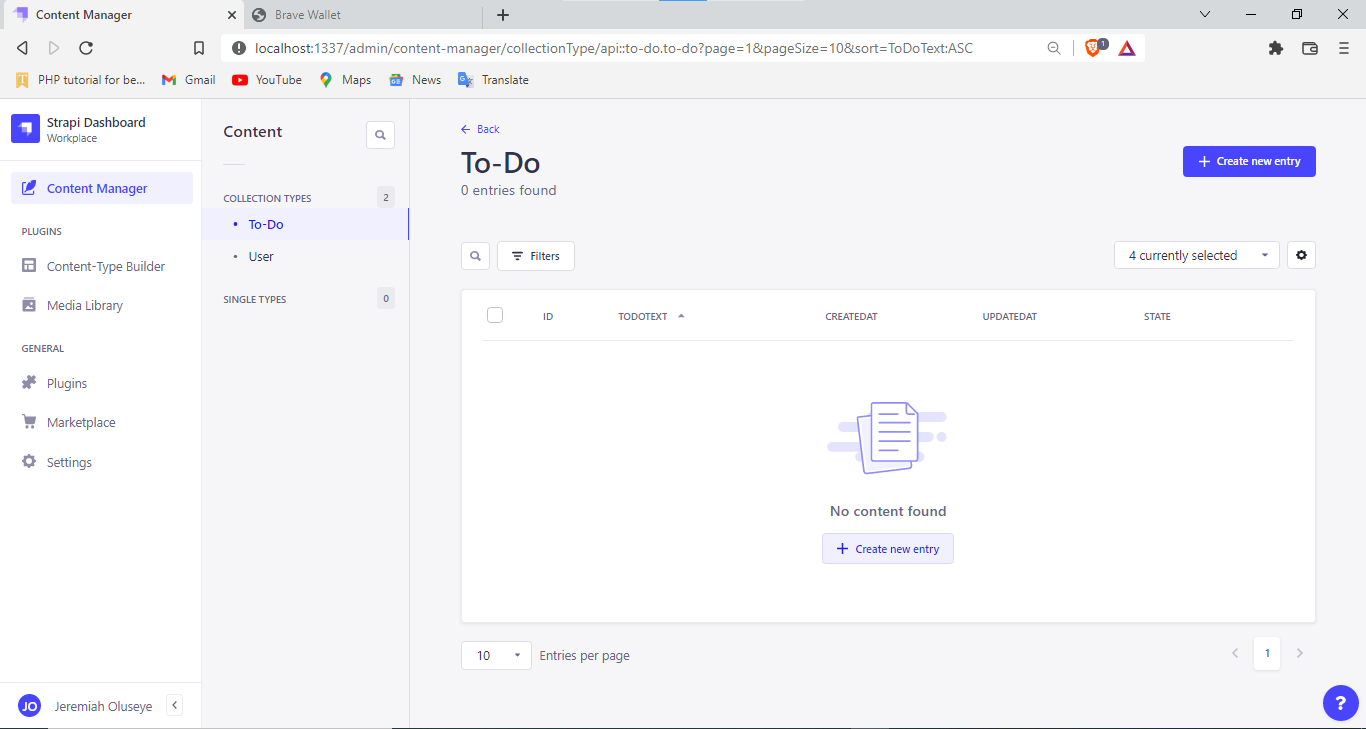
Click on the “To-Do”
Let’s add a new to-do. To do that click on the “+ Create New entry” button.
Enter “Go to church” in the “TodoText” input box. Next click on “Save”. The “Publish” button will become enabled. Click on it to publish the todo text.


Now, the to-dos will be like this:
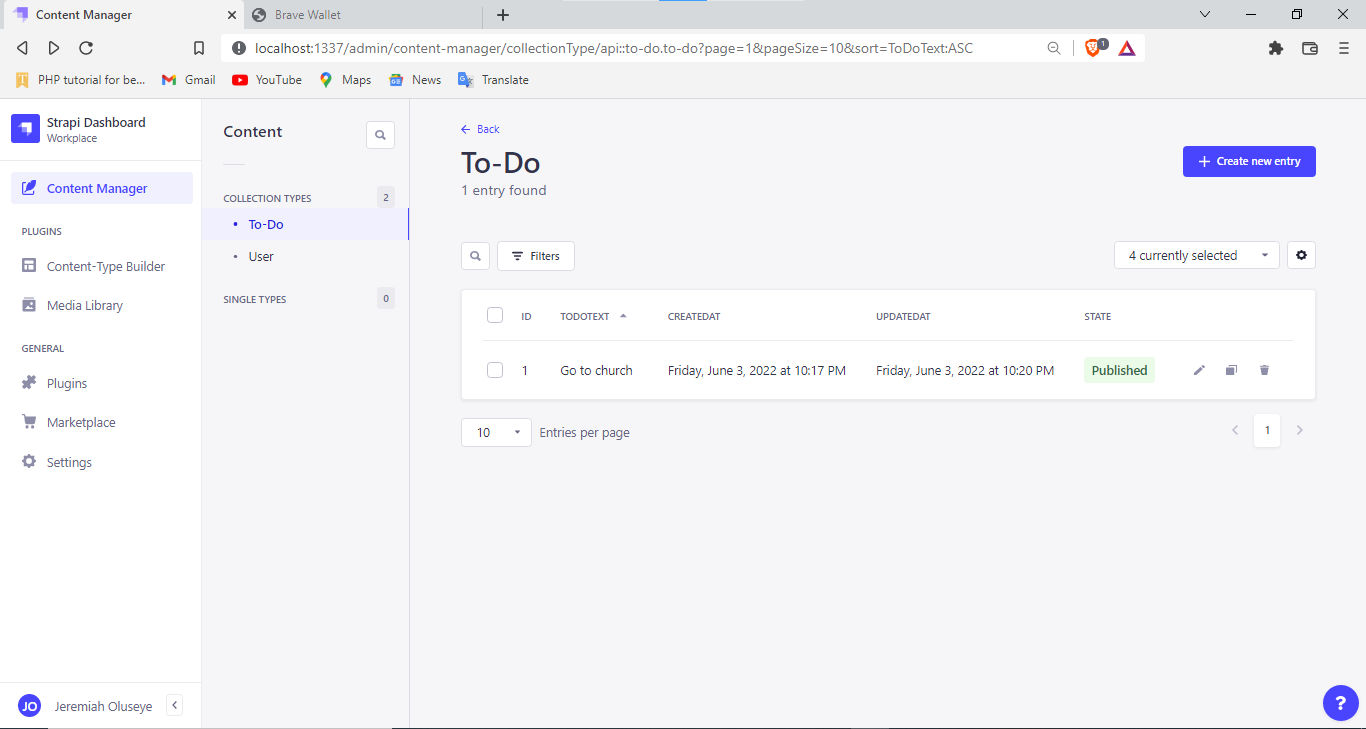
The id, published_at and created_at fields are added by Strapi. id is the primary key and auto-incremented. published_at is a date timestamp that records the time when the todo is edited and published. created_at is the timestamp that records the todo was created.
Right now, to access our todos is restricted to only authorized users with certain roles. But let’s make it accessible to the public. To do that go to Settings - Roles.

We see two roles here: “Authenticated” and “Public”. Click on “Public”, on the page that appears, scroll down to “Permissions” and click on the “Select all” checkbox to select all checkboxes.
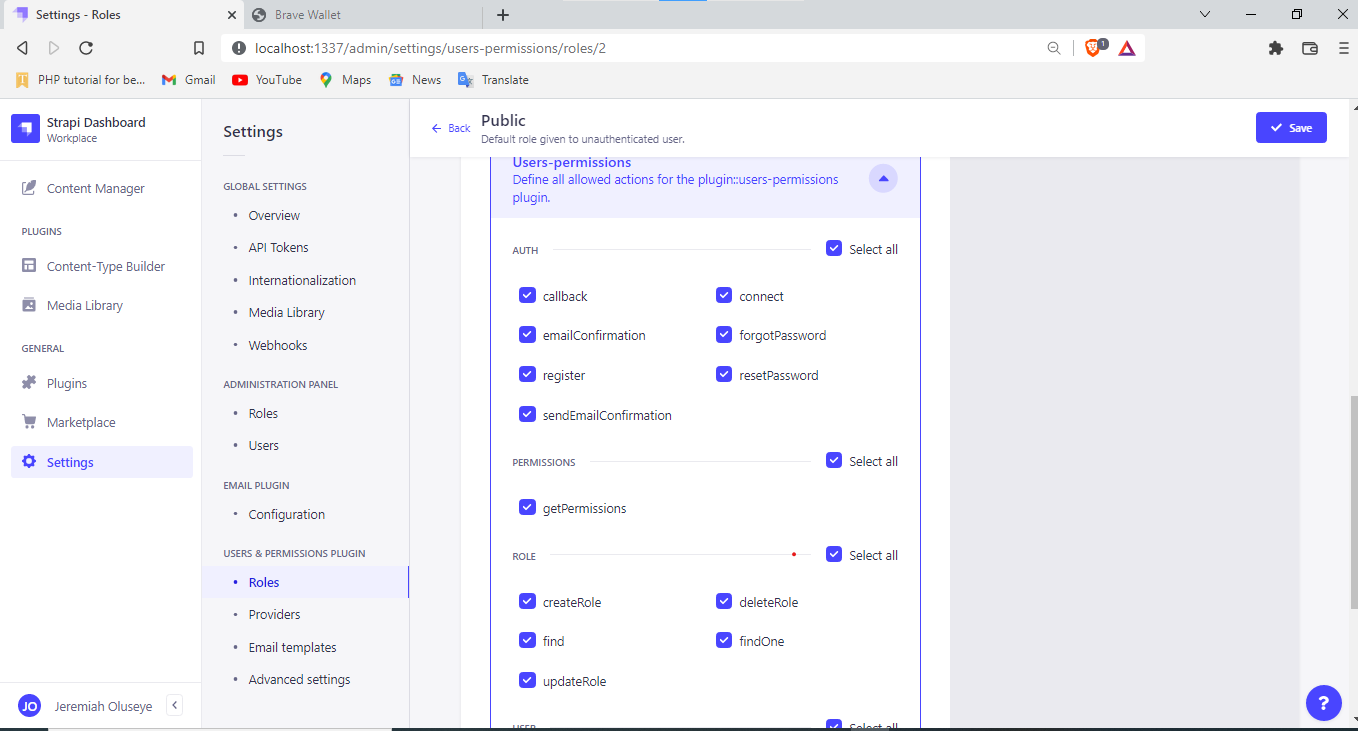
With this, unauthorized users can perform CRUD actions on the todos collections. Now, we can test the todos endpoint using Postman.
Testing the API Endpoint.
- Open a new tab on the browser. To fetch your to-dos, type localhost:1337/api/to-dos into the URL.

We can see that all todos are returned.
- To fetch a single todo, pass in the ID of the todo that you want to fetch as to the Strapi api url,
localhost:1337/todos/{ID}. - Replace the ID with the todo ID item that you want to fetch. For instance to fetch a to-do item with the ID 2 then make a request to the endpoint,
localhost:1337/todos/2. - To fetch the todo with id 2, enter localhost:1337/todos/2 in the URL input box and click on "Send".

The todo with id 2 is returned.
Building the Next.js App
We have built and tested our API endpoints. Now, it is time to create the frontend using Next.js.
- To create a next.js project, make sure you move outside of the current Strapi project on your terminal and run the command below.
The above command creates a Next.js project todo-app.yarn create next-app todo-app - Open the todo-app project in VS Code. Our todo app will look like this:
Now, we will divide it into components:
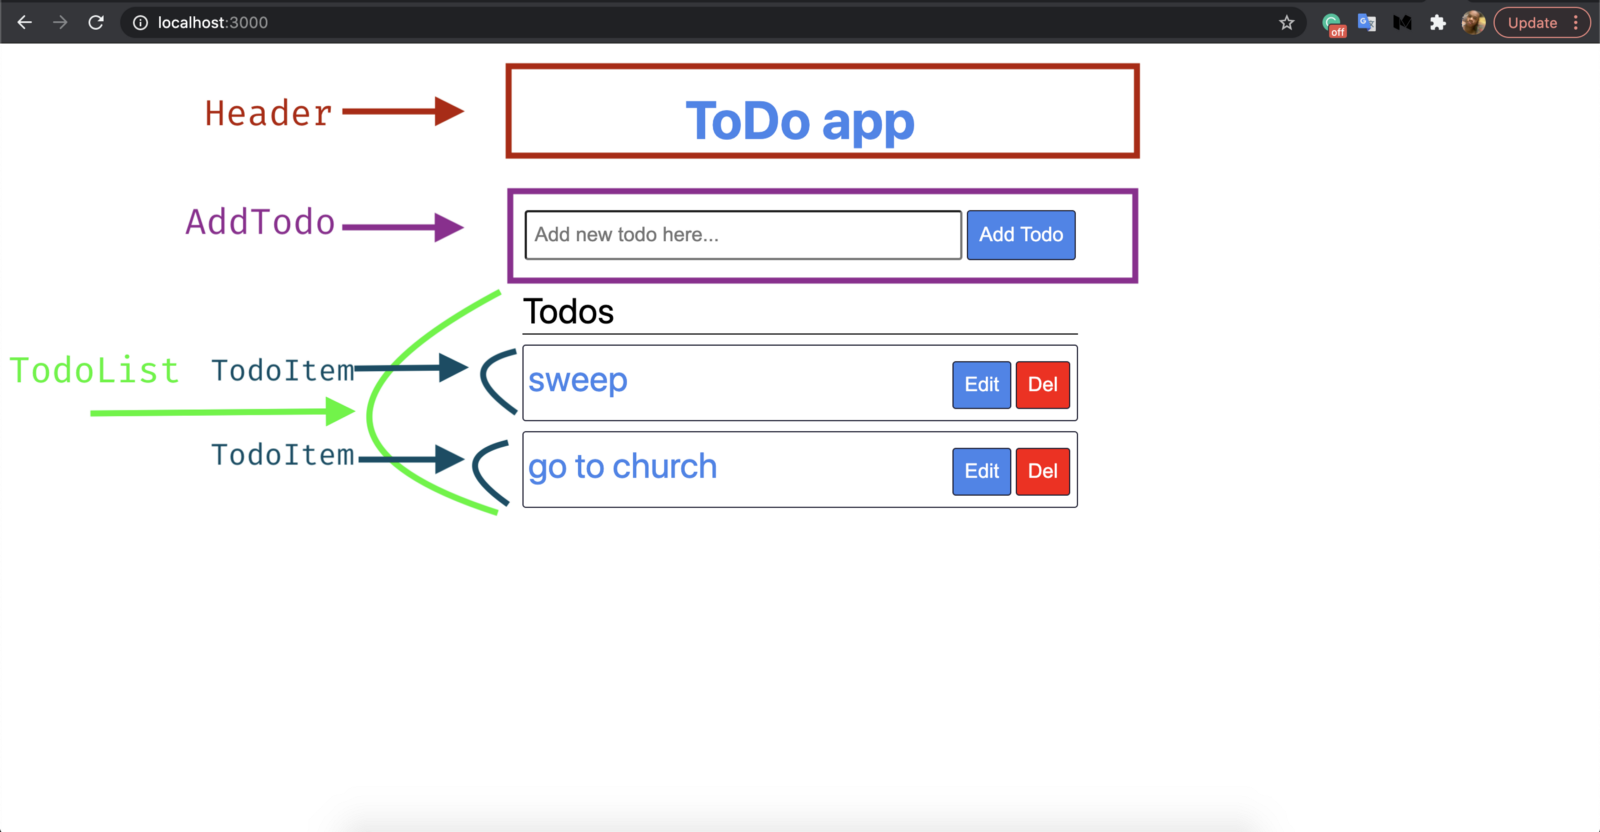
The Header and TodoItem will be a presentational component, while AddTodo and TodoList will be containers.
To create the folders components and containers in the todo-app project,
- In the components folder, add the files header.js and todoItem.js.
- In the containers folder, add the files addTodo.js and todoList.js.
In Header.js, paste the below code:
  //header.js will hold the header section.
  function Header() {
    return (
      <div className="header">
        <h2>ToDo app</h2>
      </div>
    );
  }
  export default Header;

  In todoItem.js, paste the below code:
  // todoItem.js will hold the single todo display.

  function TodoItem({ todo, editTodoItem, deleteTodoItem }) {
    return (
      <>
        <div className="todoItem">
          <div className="todoItemText">{todo.todoText}</div>
          <div className="todoItemControls">
            <i className="todoItemControlEdit">
              <button className="bg-default" onClick={() => editTodoItem(todo)}>
                Edit
              </button>
            </i>
            <i className="todoItemControlDelete">
              <button className="bg-danger" onClick={() => deleteTodoItem(todo)}>
                Del
              </button>
            </i>
          </div>
        </div>
      </>
    );
  }
  export default TodoItem;
The TodoItem component has props that expect the todo to display, then editTodoItem, and deleteTodoItem are functions that will be called when a todo is to be edited or deleted.
Add the following code:
  // addTodo.js is where new todos are added to our backend.
  function AddTodo({ addTodo }) {
    return (
      <>
        <div className="addTodoContainer">
          <input
            className="todoInputText"
            type="text"
            placeholder="Add new todo here..."
            id="todoText"
            onKeyDown={(e) => {
              if (e.code === "Enter") {
                addTodo(todoText.value);
                todoText.value = "";
              }
            }}
          />
          <input
            className="todoInputButton"
            type="button"
            value="Add Todo"
            onClick={() => {
              addTodo(todoText.value);
              todoText.value = "";
            }}
          />
        </div>
      </>
    );
  }
  export default AddTodo;
There is an input box and a button. Whenever the button is clicked, the addTodo function prop is called with the value of the input box. We added an onKeyDown event on the input box so we can capture the "Enter" key when it is pressed and call the addTodo function.
  // todoList.js renders the todo list gotten from the Strapi backend.
  import TodoItem from "../components/todoItem";
  function TodoList({ todos, editTodoItem, deleteTodoItem }) {
    return (
      <div className="todoListContainer">
        <div className="todosText">Todos</div>
        {todos
          .sort((a, b) => b.created_at.localeCompare(a.created_at))
          .map((todo, i) => (
            <TodoItem
              todo={todo}
              key={i}
              deleteTodoItem={deleteTodoItem}
              editTodoItem={editTodoItem}
            />
          ))}
      </div>
    );
  }
  export default TodoList;
This component gets the todo list in an array. It sorts the array by the time it was created and then renders them. It receives editTodoItem, deleteTodoItem in its props and passes it to the TodoItem component.
We are done fleshing out our components. Now, we have to render the containers. We are going to need the axios library, so we install it with
yarn add axios
- Go to the index.js file in the pages folder and paste the following code:
  import Head from "next/head";
  import { useEffect, useState } from "react";
  import Header from "../components/header";
  import AddTodo from "../containers/addTodo";
  import TodoList from "../containers/todoList";
  import axios from "axios";
  export default function Home() {
    const [todos, setTodos] = useState([]);
    useEffect(async () => {
      const result = await axios.get("http://localhost:1337/todos");
      setTodos(result?.data);
    }, []);
    const addTodo = async (todoText) => {
      if (todoText && todoText.length > 0) {
        const result = await axios.post("http://localhost:1337/todos", {
          todoText: todoText,
        });
        setTodos([...todos, result?.data]);
      }
    };
    const deleteTodoItem = async (todo) => {
      if (confirm("Do you really want to delete this item?")) {
        await axios.delete("http://localhost:1337/todos/" + todo.id);
        const newTodos = todos.filter((_todo) => _todo.id !== todo.id);
        console.log(newTodos);
        setTodos(newTodos);
      }
    };
    const editTodoItem = async (todo) => {
      const newTodoText = prompt("Enter new todo text or description:");
      if (newTodoText != null) {
        const result = await axios.put("http://localhost:1337/todos/" + todo.id, {
          todoText: newTodoText,
        });
        const moddedTodos = todos.map((_todo) => {
          if (_todo.id === todo.id) {
            return result?.data;
          } else {
            return _todo;
          }
        });
        setTodos(moddedTodos);
      }
    };
    return (
      <div>
        <Head>
          <title>ToDo app</title>
          <link rel="icon" href="/favicon.ico" />
        </Head>
        <Header />
        <main className="main">
          <AddTodo addTodo={addTodo} />
          <TodoList
            todos={todos}
            deleteTodoItem={deleteTodoItem}
            editTodoItem={editTodoItem}
          />
        </main>
      </div>
    );
  }
Next, we have a useEffect that we use to fetch the todos from the Strapi endpoint when the component mounts. See that we use the endpoint localhost:1337/todos to get all todos.
Here also, we defined the functions addTodo, deleteTodoItem, editTodoItem. These functions are passed to the container components where they are called.
The addTodo function adds a new todo in the endpoint. The function accepts the todo text in the todoText arg, then uses the HTTP POSt to create the new todo via http://localhost:1337/todos passing the todo text as payload. Then, the result of the action is gotten, and the newly added todo is added to the todos state thus making our app display the new todo in the UI.
The deleteTodoItem function accepts the todo object to be deleted in the todo arg. It confirms first if the user wants to delete the todo, if yes, it proceeds to call the endpoint http://localhost:1337/todos/:todoId with the todo id and the HTTP DELETE verb. This will cause Strapi to delete the todo with the id in its database. Next, we filter out the deleted todo and set the filtered result as the new todos in the todos state.
The editTodoItem functions edits a todo. It prompts the user to enter the new todo text. Upon clicking OK in the prompt dialog, it edits the todo via the endpoint via http://localhost:1337/todos/ with the todo id, the HTTP PUT verb is used here, with the property in the todo model to edit is sent in the body. This causes Strapi to seek out the todo and edit it accordingly.
Next, we use Array#map method to get the todo in the local todos state and change it to was it is currently is in the Strapi backend, then, we set the modified todos in the todos state.
Let’s add CSS to our project. Open styles folder and paste the following in the globals.css file.
    html,
    body {
      padding: 0;
      margin: 0;
      font-family: -apple-system, BlinkMacSystemFont, Segoe UI, Roboto, Oxygen, Ubuntu,
        Cantarell, Fira Sans, Droid Sans, Helvetica Neue, sans-serif;
      font-size: xx-large;
    }
    a {
      color: inherit;
      text-decoration: none;
    }
    * {
      box-sizing: border-box;
    }
    .main {
      padding: 10px 0;
      flex: 1;
      display: flex;
      flex-direction: column;
      justify-content: center;
      align-items: center;
    }
    .header {
      display: flex;
      justify-content: center;
      color: rgba(70, 130, 236, 1);
    }
    .todoInputText {
      padding: 10px 7px;
      border-radius: 3px;
      margin-right: 2px;
      margin-left: 2px;
      width: 100%;
      font-size: large;
    }
    button {
      padding: 10px 10px;
      border-radius: 3px;
      cursor: pointer;
      margin-right: 2px;
      margin-left: 2px;
      font-size: large;
    }
    .bg-default {
      background-color: rgba(70, 130, 236, 1);
      border: 1px solid rgba(28, 28, 49, 1);
      color: white;
    }
    .bg-danger {
      background-color: red;
      border: 1px solid rgba(28, 28, 49, 1);
      color: white;
    }
    .todoInputButton {
      padding: 10px 10px;
      border-radius: 3px;
      background-color: rgba(70, 130, 236, 1);
      color: white;
      border: 1px solid rgba(28, 28, 49, 1);
      cursor: pointer;
      margin-right: 2px;
      margin-left: 2px;
      font-size: large;
    }
    .addTodoContainer {
      margin-top: 4px;
      margin-bottom: 17px;
      width: 500px;
      display: flex;
      justify-content: space-evenly;
    }
    .todoListContainer {
      margin-top: 9px;
      width: 500px;
    }
    .todoItem {
      padding: 10px 4px;
      color: rgba(70, 130, 236, 1);
      border-radius: 3px;
      border: 1px solid rgba(28, 28, 49, 1);
      margin-top: 9px;
      margin-bottom: 2px;
      display: flex;
      justify-content: space-between;
    }
    .todosText {
      padding-bottom: 2px;
      border-bottom: 1px solid;
    }
Run the Next.js Server
- Use the command below:
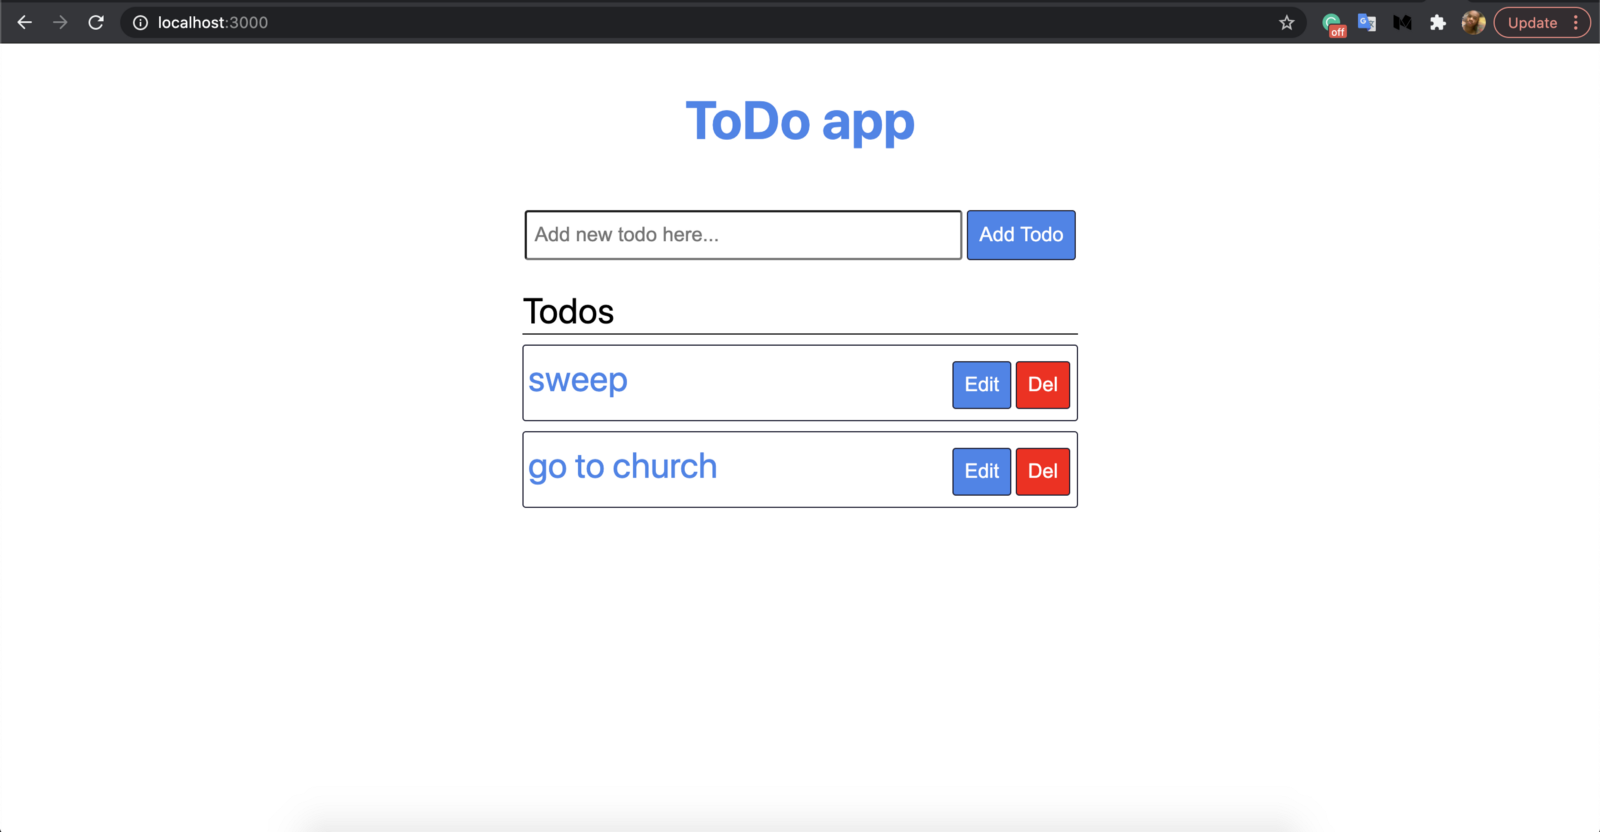
yarn dev - Navigate to localhost:3000, there you will see our frontend being rendered.
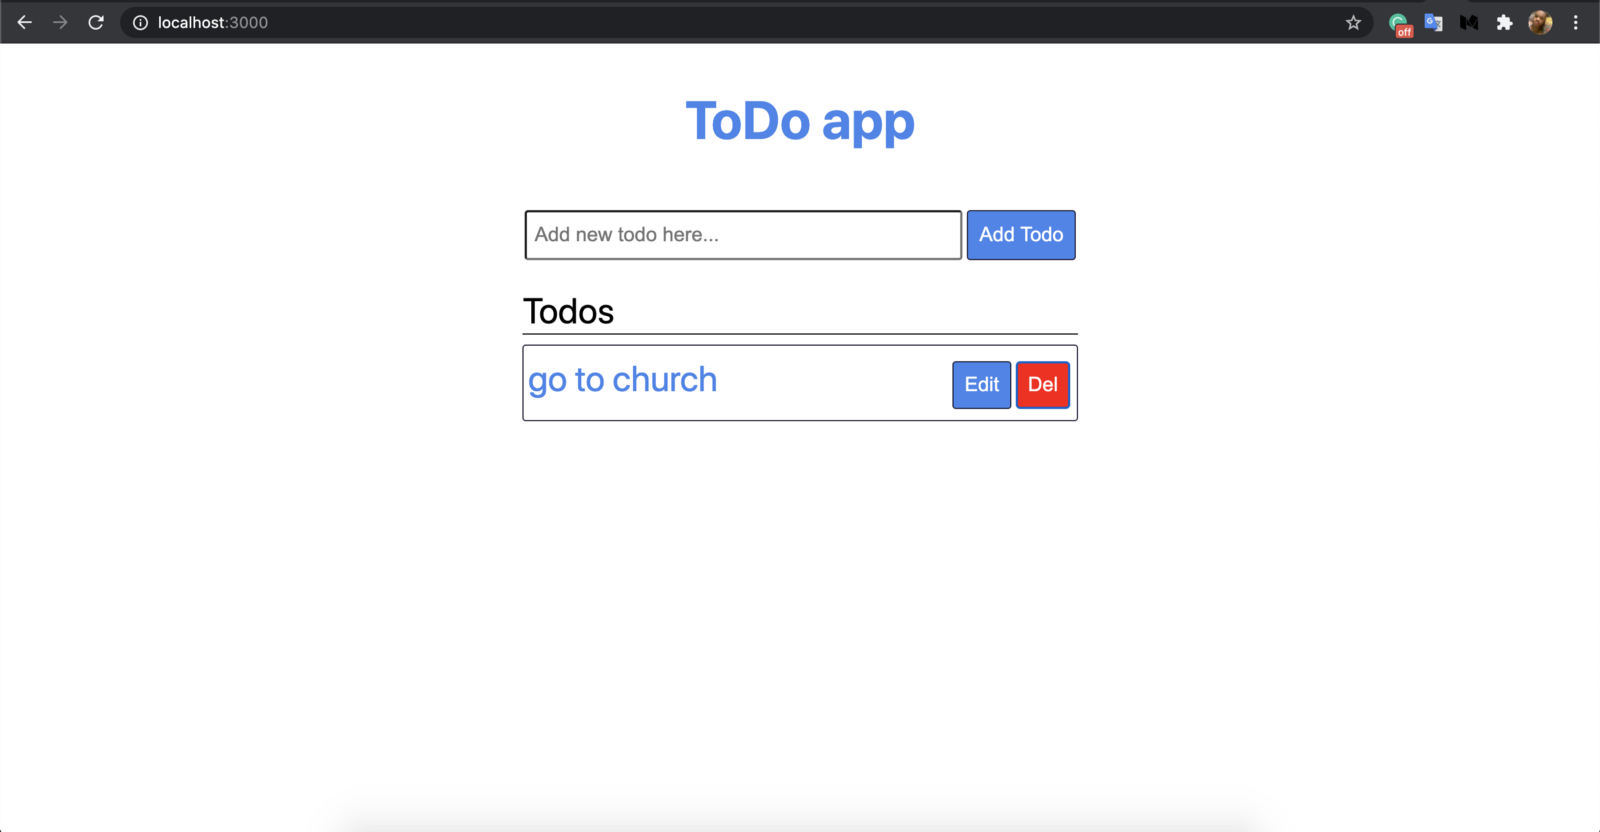
See we have a “go to church” todo there. This is from the todo we added via the Strapi admin panel when we were setting up the todos collection.
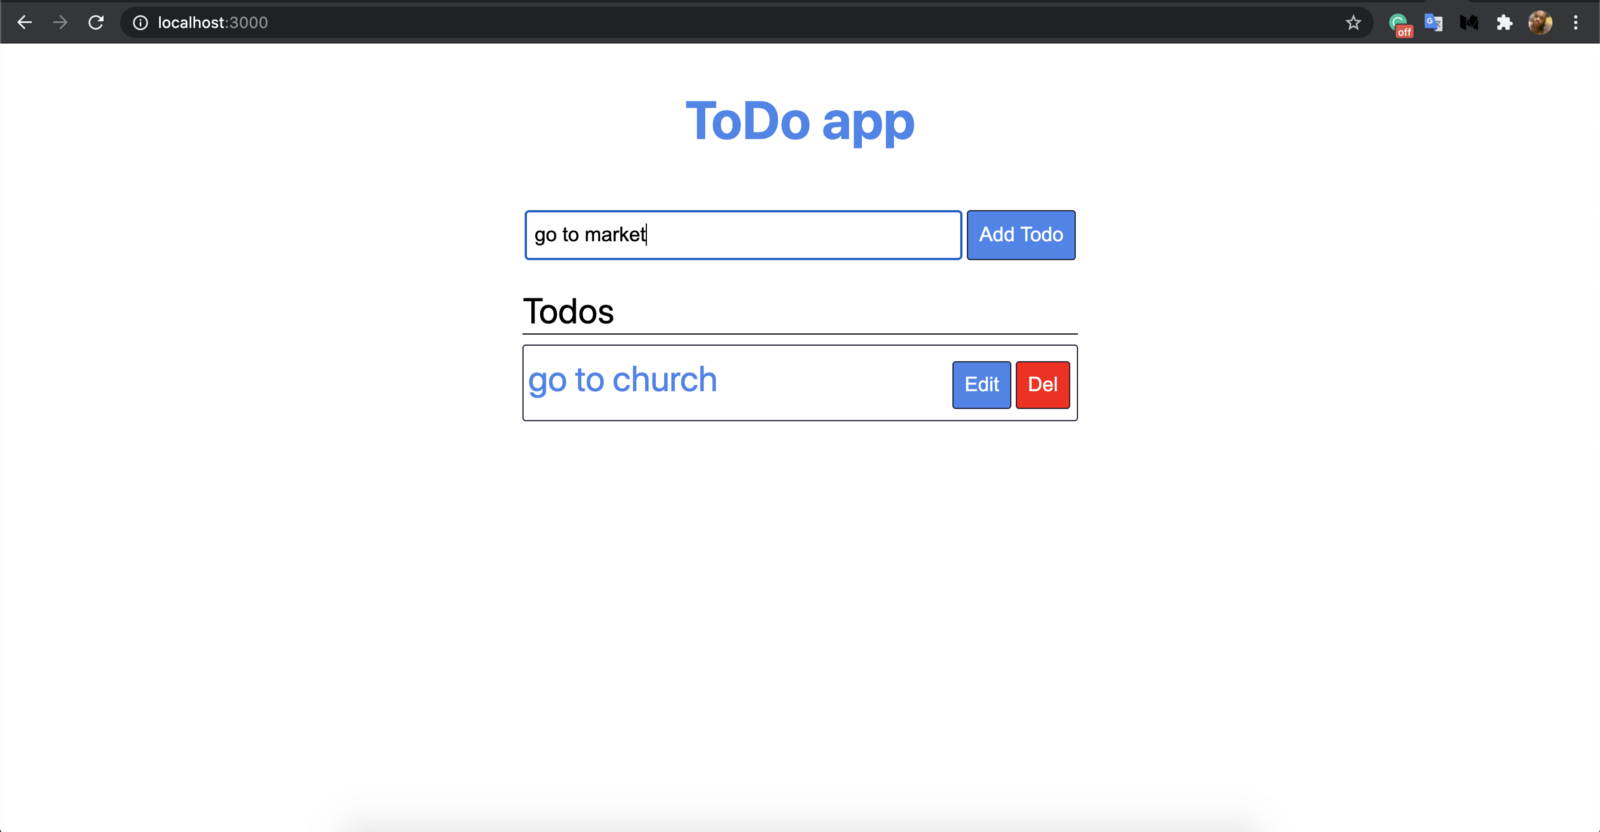
Add a New To-Do
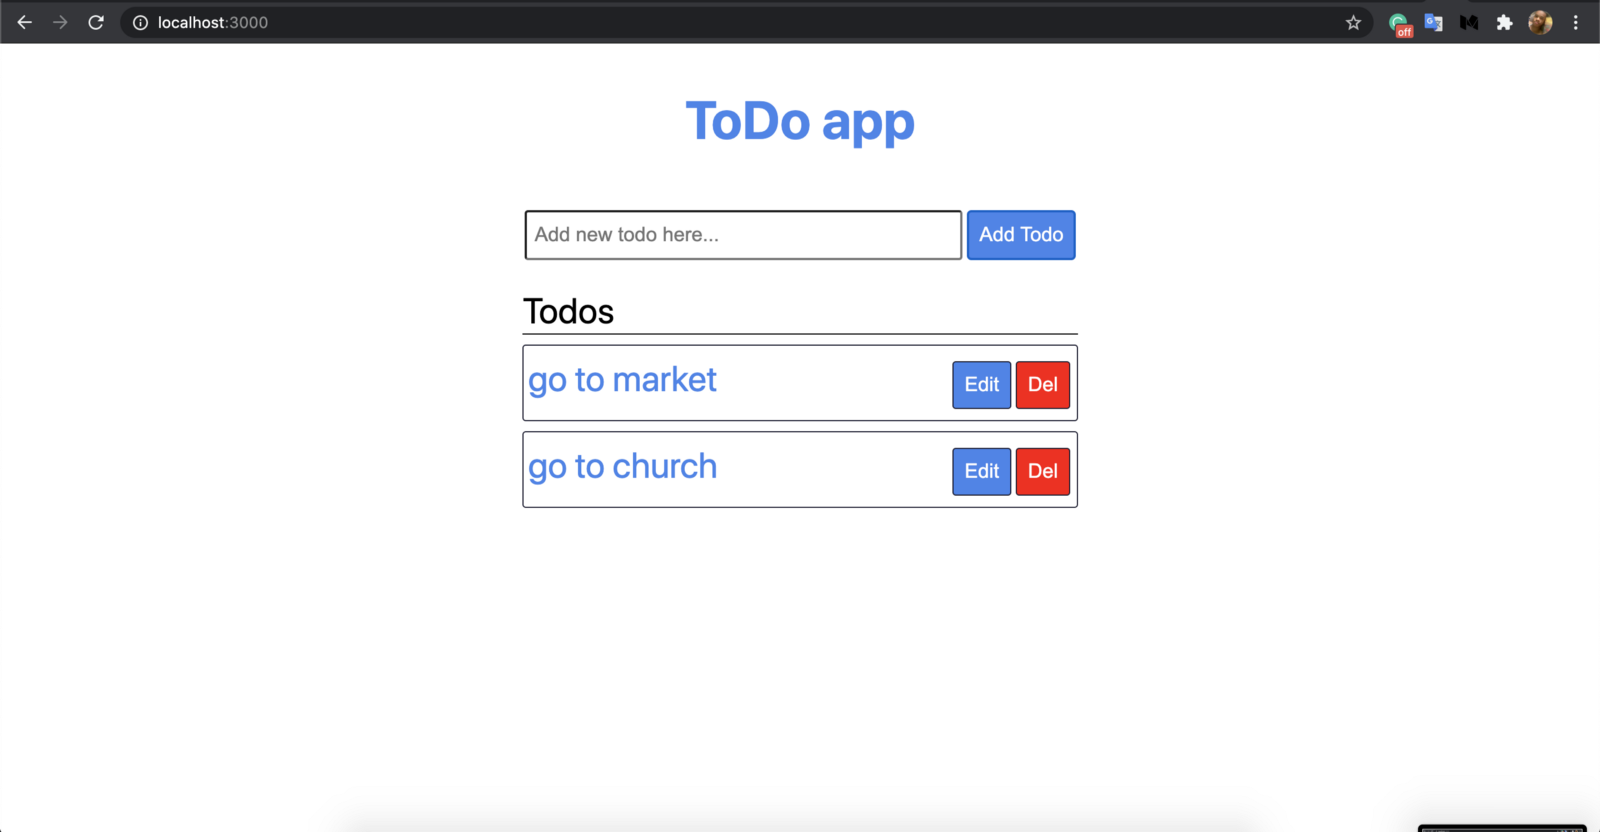
- Type “go to market” and click on the “Add todo” button.
See a new todo shows up with “go to market”.
Edit the To-Do Text
Click on the “Edit” button next to the “go to market” todo.
A prompt dialog shows up, type in “go to shopping mall in Jabi”. Click on OK.
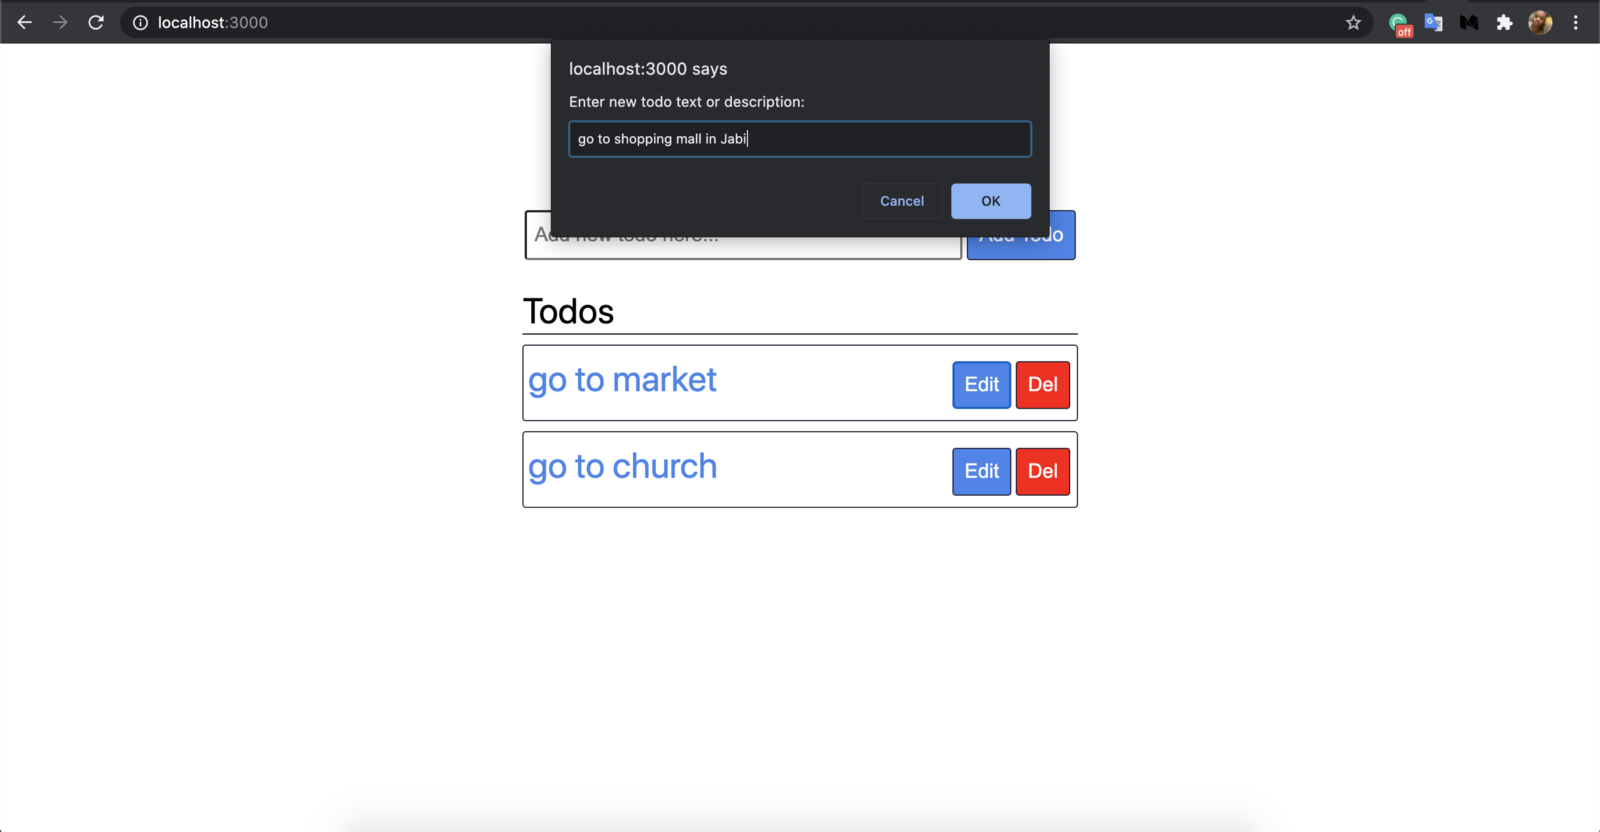
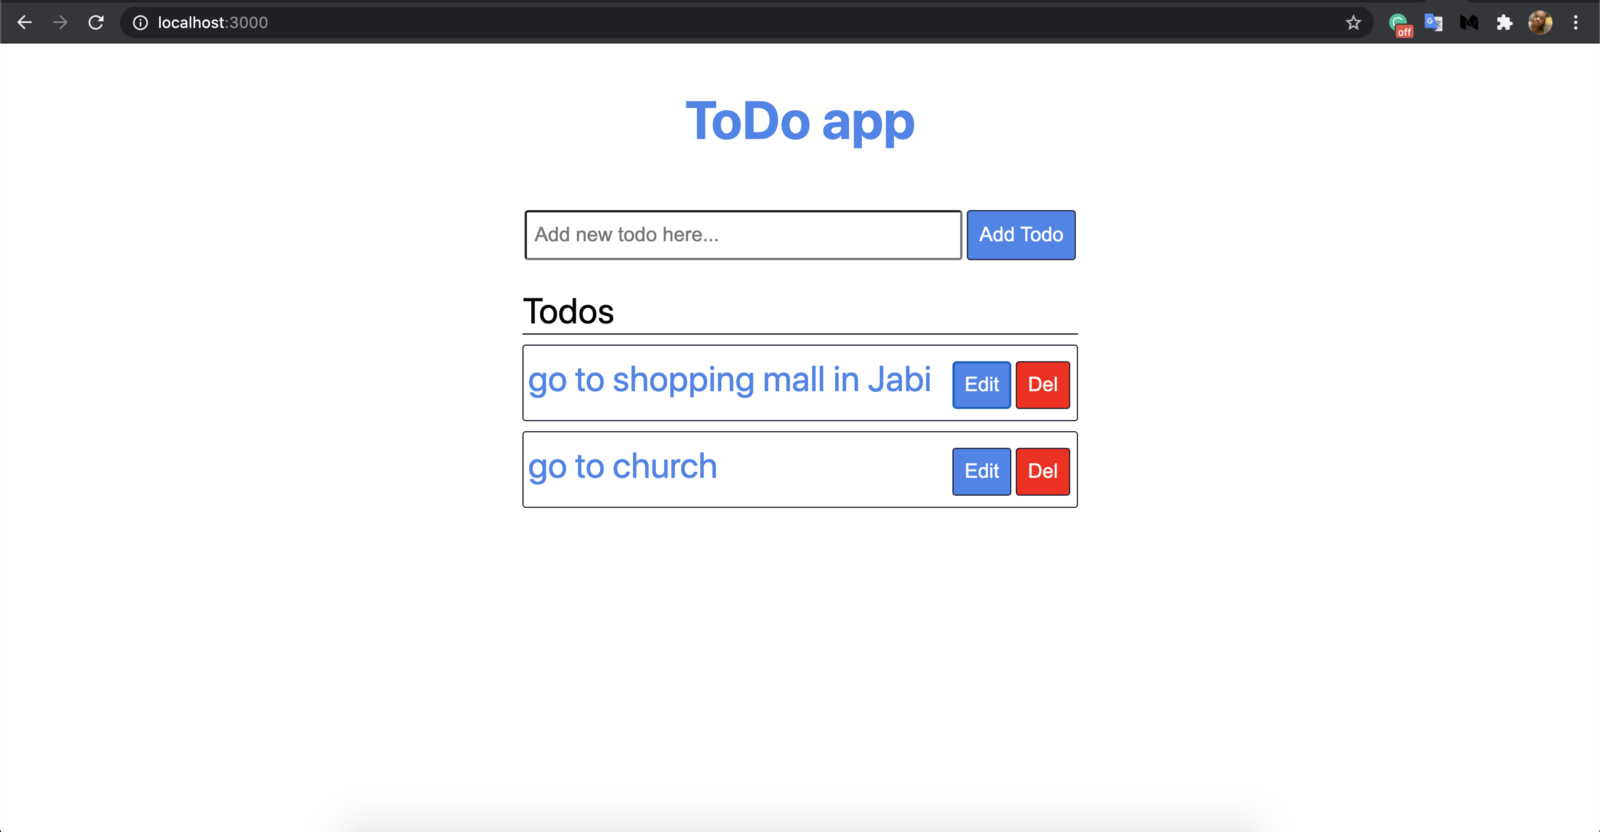
See the todo text changes to “go to shopping mall in Jabi”
Delete the To-Do
- Click on the “Del” button next to “go to shopping mall in Jabi” todo. A confirm dialog shows up.

- Click on OK. The to-do is deleted.

GitHub Source Code
You can find the source code of the project here.
Conclusion
Strapi is both powerful and simple to use, as you can see. It was incredibly quick and straightforward to set up our backend. Simply construct your collections, and Strapi will provide endpoints that adhere to proper web principles.